I spent my first Valentine’s Day with my partner trying to make a simple heart-shaped cake, and it collapsed. The whole thing. Middle of the cake just… sank. We ended up eating chocolate chip cookies from the store instead, which honestly was fine, but I felt like I’d failed at something that should have been easy.
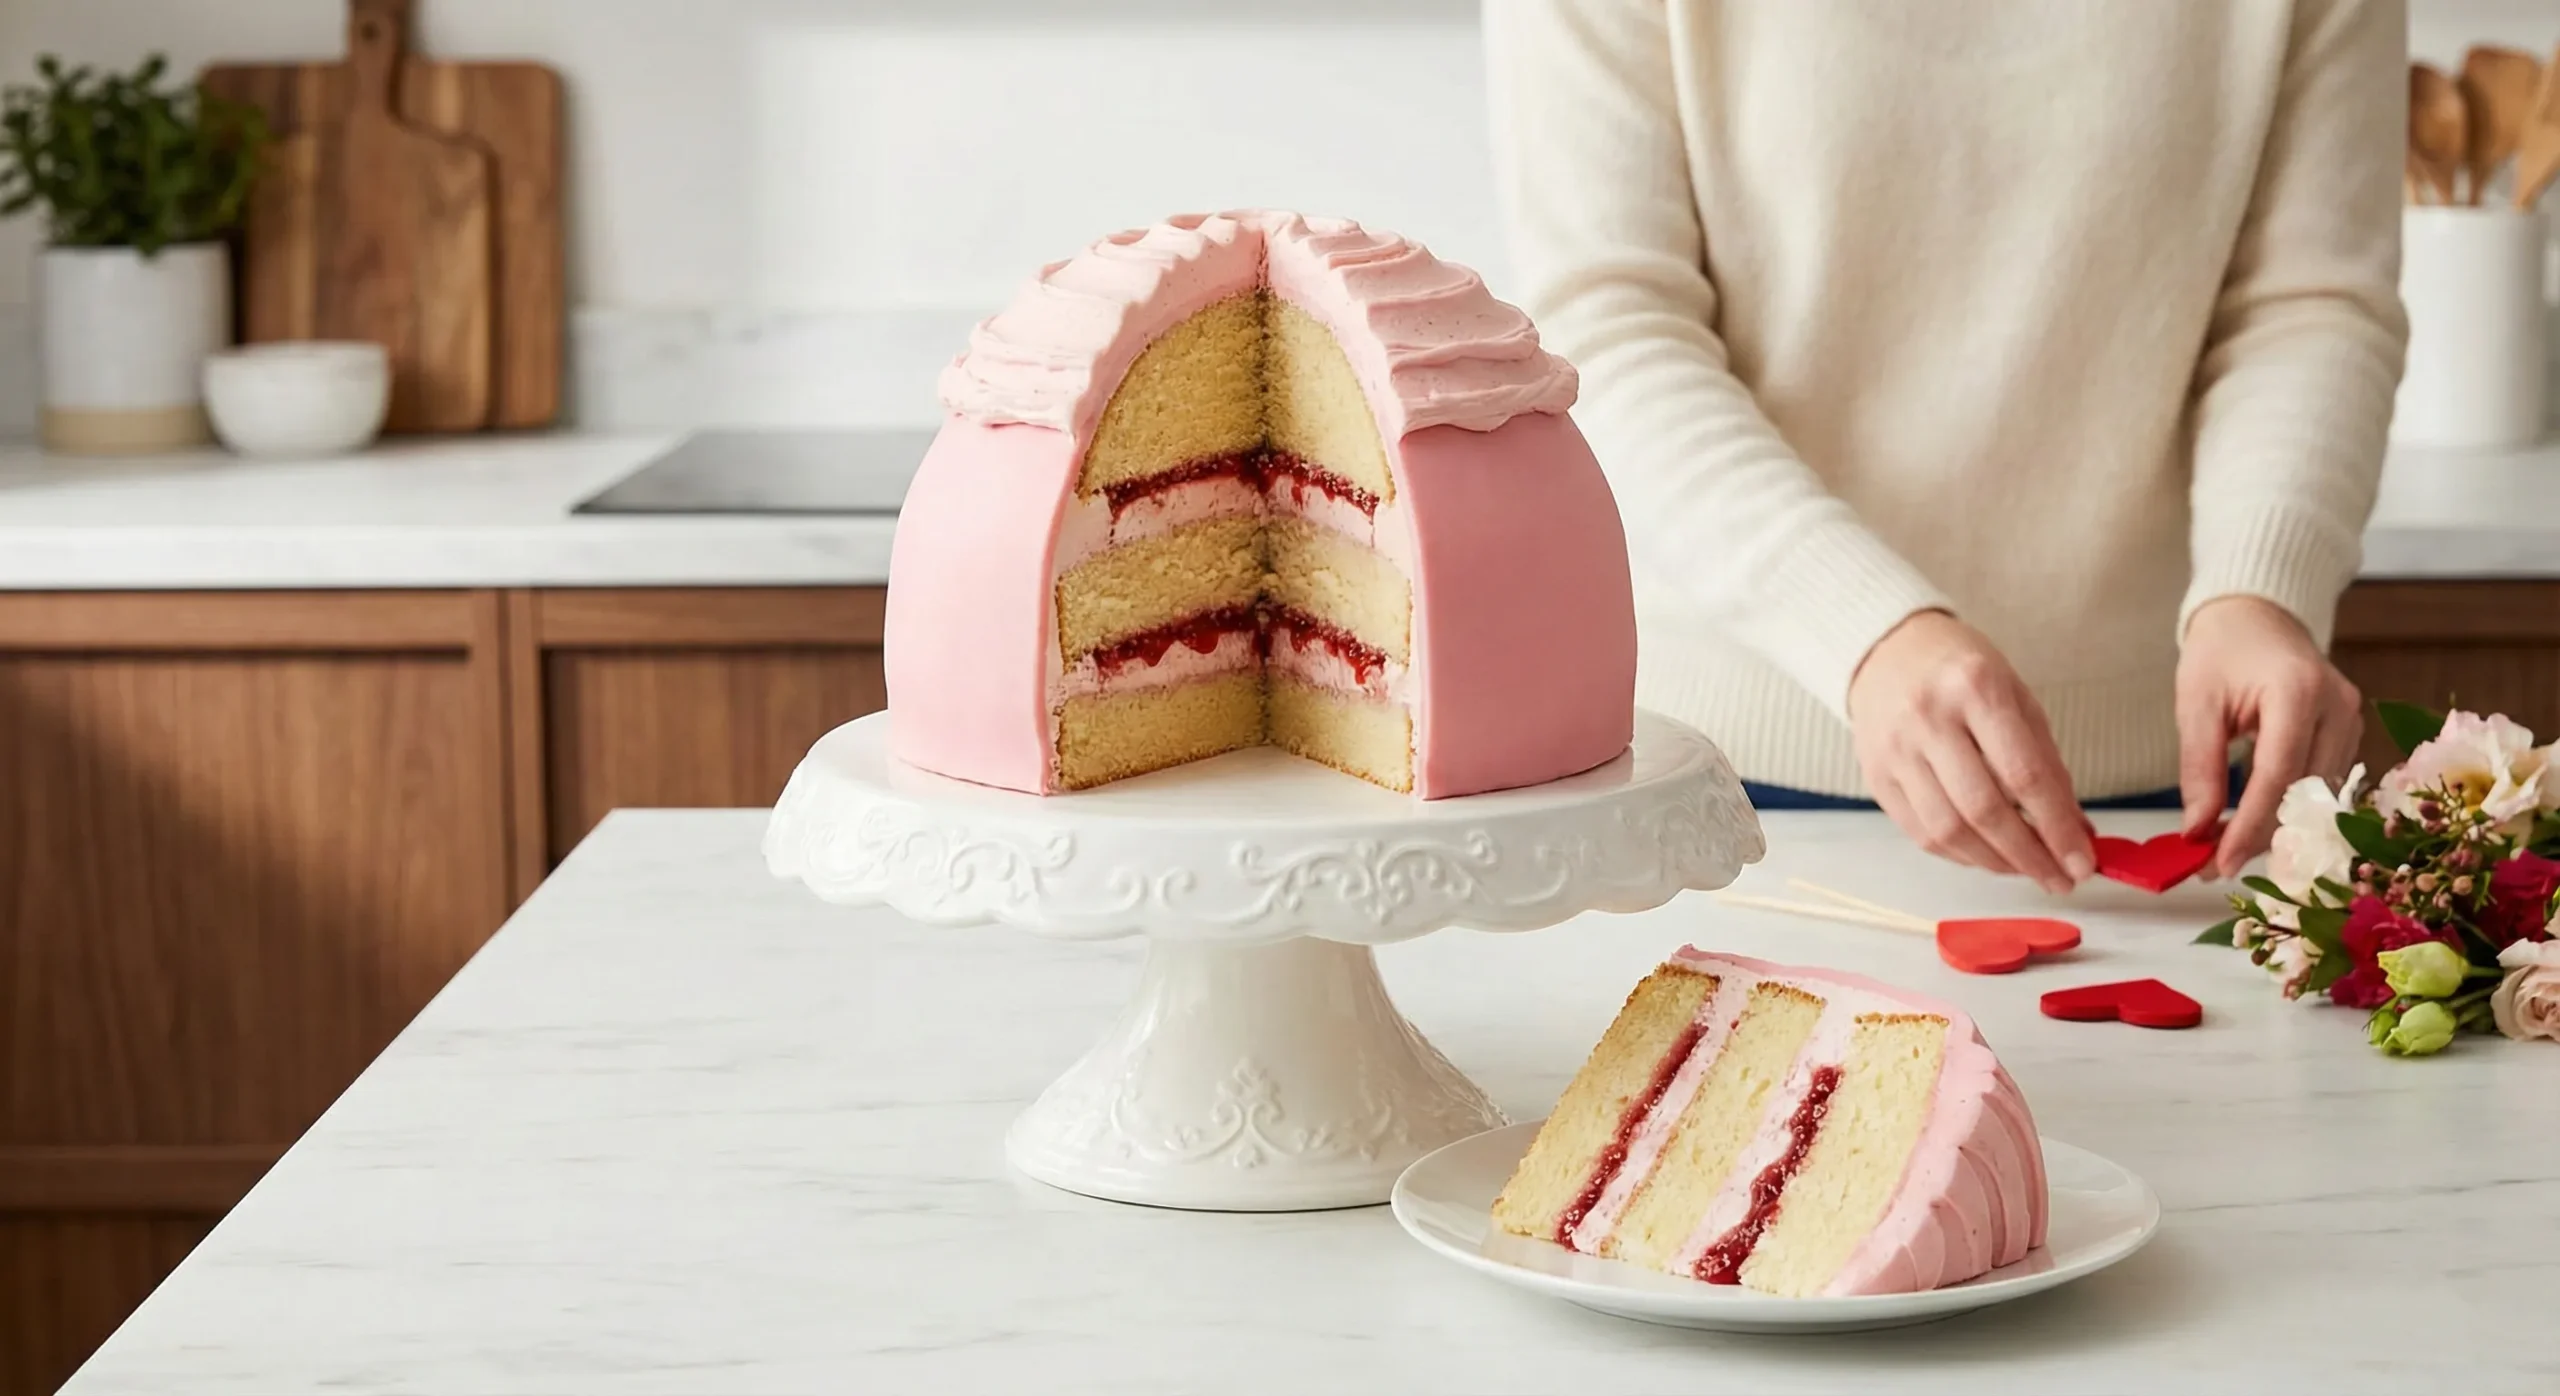
The next year, I went the opposite direction. If I was going to fail, I’d fail spectacularly. This giant fondant version? It took me six hours. My kitchen looked like a bakery exploded. But when I finally got it right, smooth pink fondant with that dome sitting perfectly on top, watching their face when they saw it? Every single hour was worth it.
Here’s what I learned: fondant is annoying. It sticks to everything. It tears if you look at it wrong. But for Valentine’s Day? When you want to make something that says “I spent actual time on this”? It works. This recipe needs 4 to 5 hours if you’re methodical, maybe more if you’re like me and keep having to re-roll the fondant. Worth it, though.

Why This Cake Matters (More Than You Think)
Most Valentine’s Day desserts are small gestures. A few cookies, maybe a simple chocolate cake. This recipe flips that script entirely. We’re talking about a 20cm square cake, multiple layers, buttercream, jam, and a dramatic fondant finish. The size alone makes a statement, but it’s the combination of techniques that elevates it from impressive to unforgettable.
The frozen buttercream dome technique creates a stunning visual impact that’s surprisingly achievable, but only if you freeze it long enough and handle the fondant carefully when draping. Skip the dome if your kitchen is too warm or you’re working in a hurry. The cake will still be impressive with just the layered structure and fondant covering.
What You’ll Need: Ingredients and Equipment
Gather everything first. Trust me on this. Once you’re mixing batter, you can’t stop to run to the store for fondant. Especially when you hit the fondant stage, because that stuff waits for no one.
Ingredients
- For the cake:
- -500g unsalted butter, softened, plus extra for the tin
- -500g golden caster sugar
- -6 eggs
- -500g self-raising flour
- -160ml milk
- -2 tsp vanilla extract
- For the buttercream and decoration:
- -350g unsalted butter, softened
- -500g icing sugar, plus 3 tbsp and extra for dusting
- -2 tbsp milk
- -2 tsp vanilla extract
- -300g strawberry or raspberry jam
- -500g white fondant
- A few drops of pink food colouring gel
Instructions
Step-by-Step Method: Building Your Masterpiece
Fondant can make or break a fancy cake. Worth the effort for Valentine's Day? Yes, if you're patient with the kneading. If you've got 4-5 hours and don't mind getting your hands sticky, go for it. Short on time? Buttercream alone works. Still romantic. Still impressive.
Each stage builds on the last. Don't skip ahead. Don't rush the cooling. I learned that the hard way when my buttercream melted into a puddle because I got impatient.
Step 1: Preparing the Batter
Heat the oven to 180C/160C fan/gas 4. Line two 20cm square tins with baking parchment, making sure the parchment extends slightly above the rim for easy removal later.
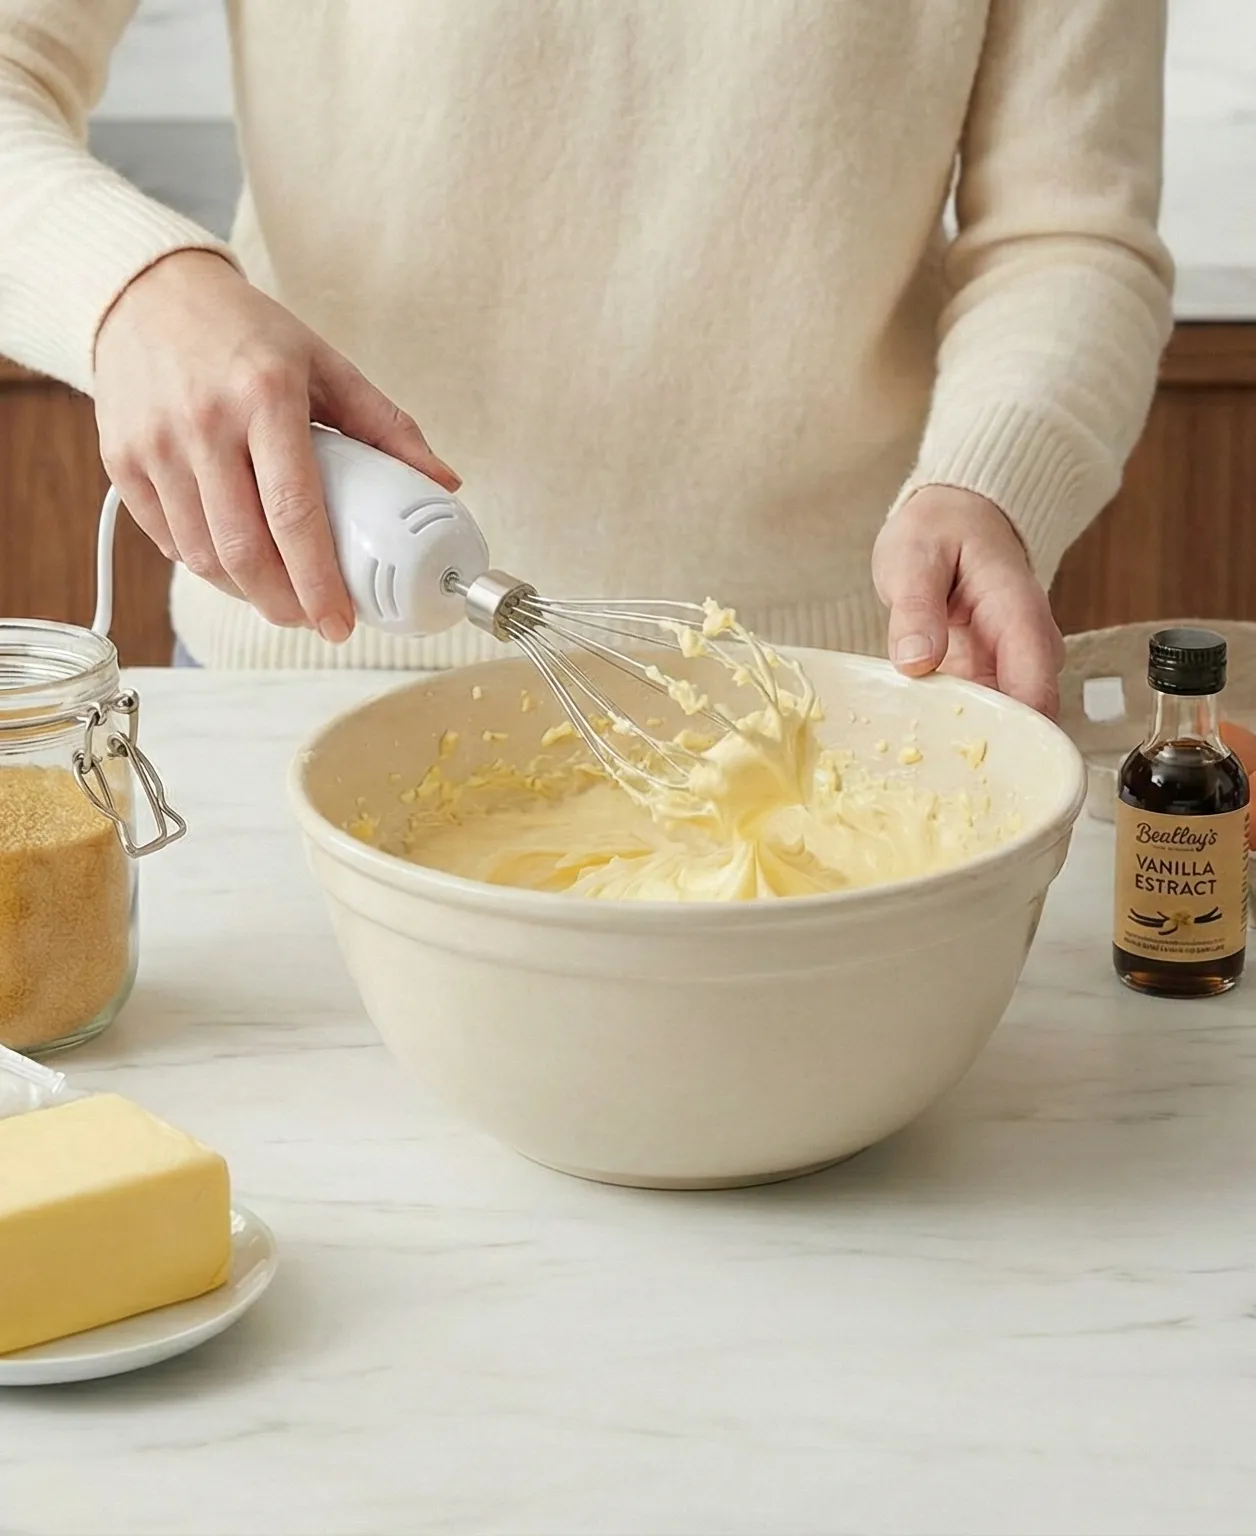
Beat the butter and sugar together for 2-3 minutes until it's smooth and creamy. Watch it lighten in color. Get it fluffy. This step matters because you're incorporating air that makes the cake rise. The creaming method is the foundation. Skip it, and you'll get a dense brick instead of a cake.
Crack in the eggs one at a time. Add a spoonful of flour between each egg and keep whisking. Prevents curdling. When all the eggs are in, tip in the rest of the flour and fold it gently. Add the milk and vanilla. Mix until there are no flour pockets hiding in there. Batter should be smooth. Pourable. Not runny.
Step 2: Baking and Cooling
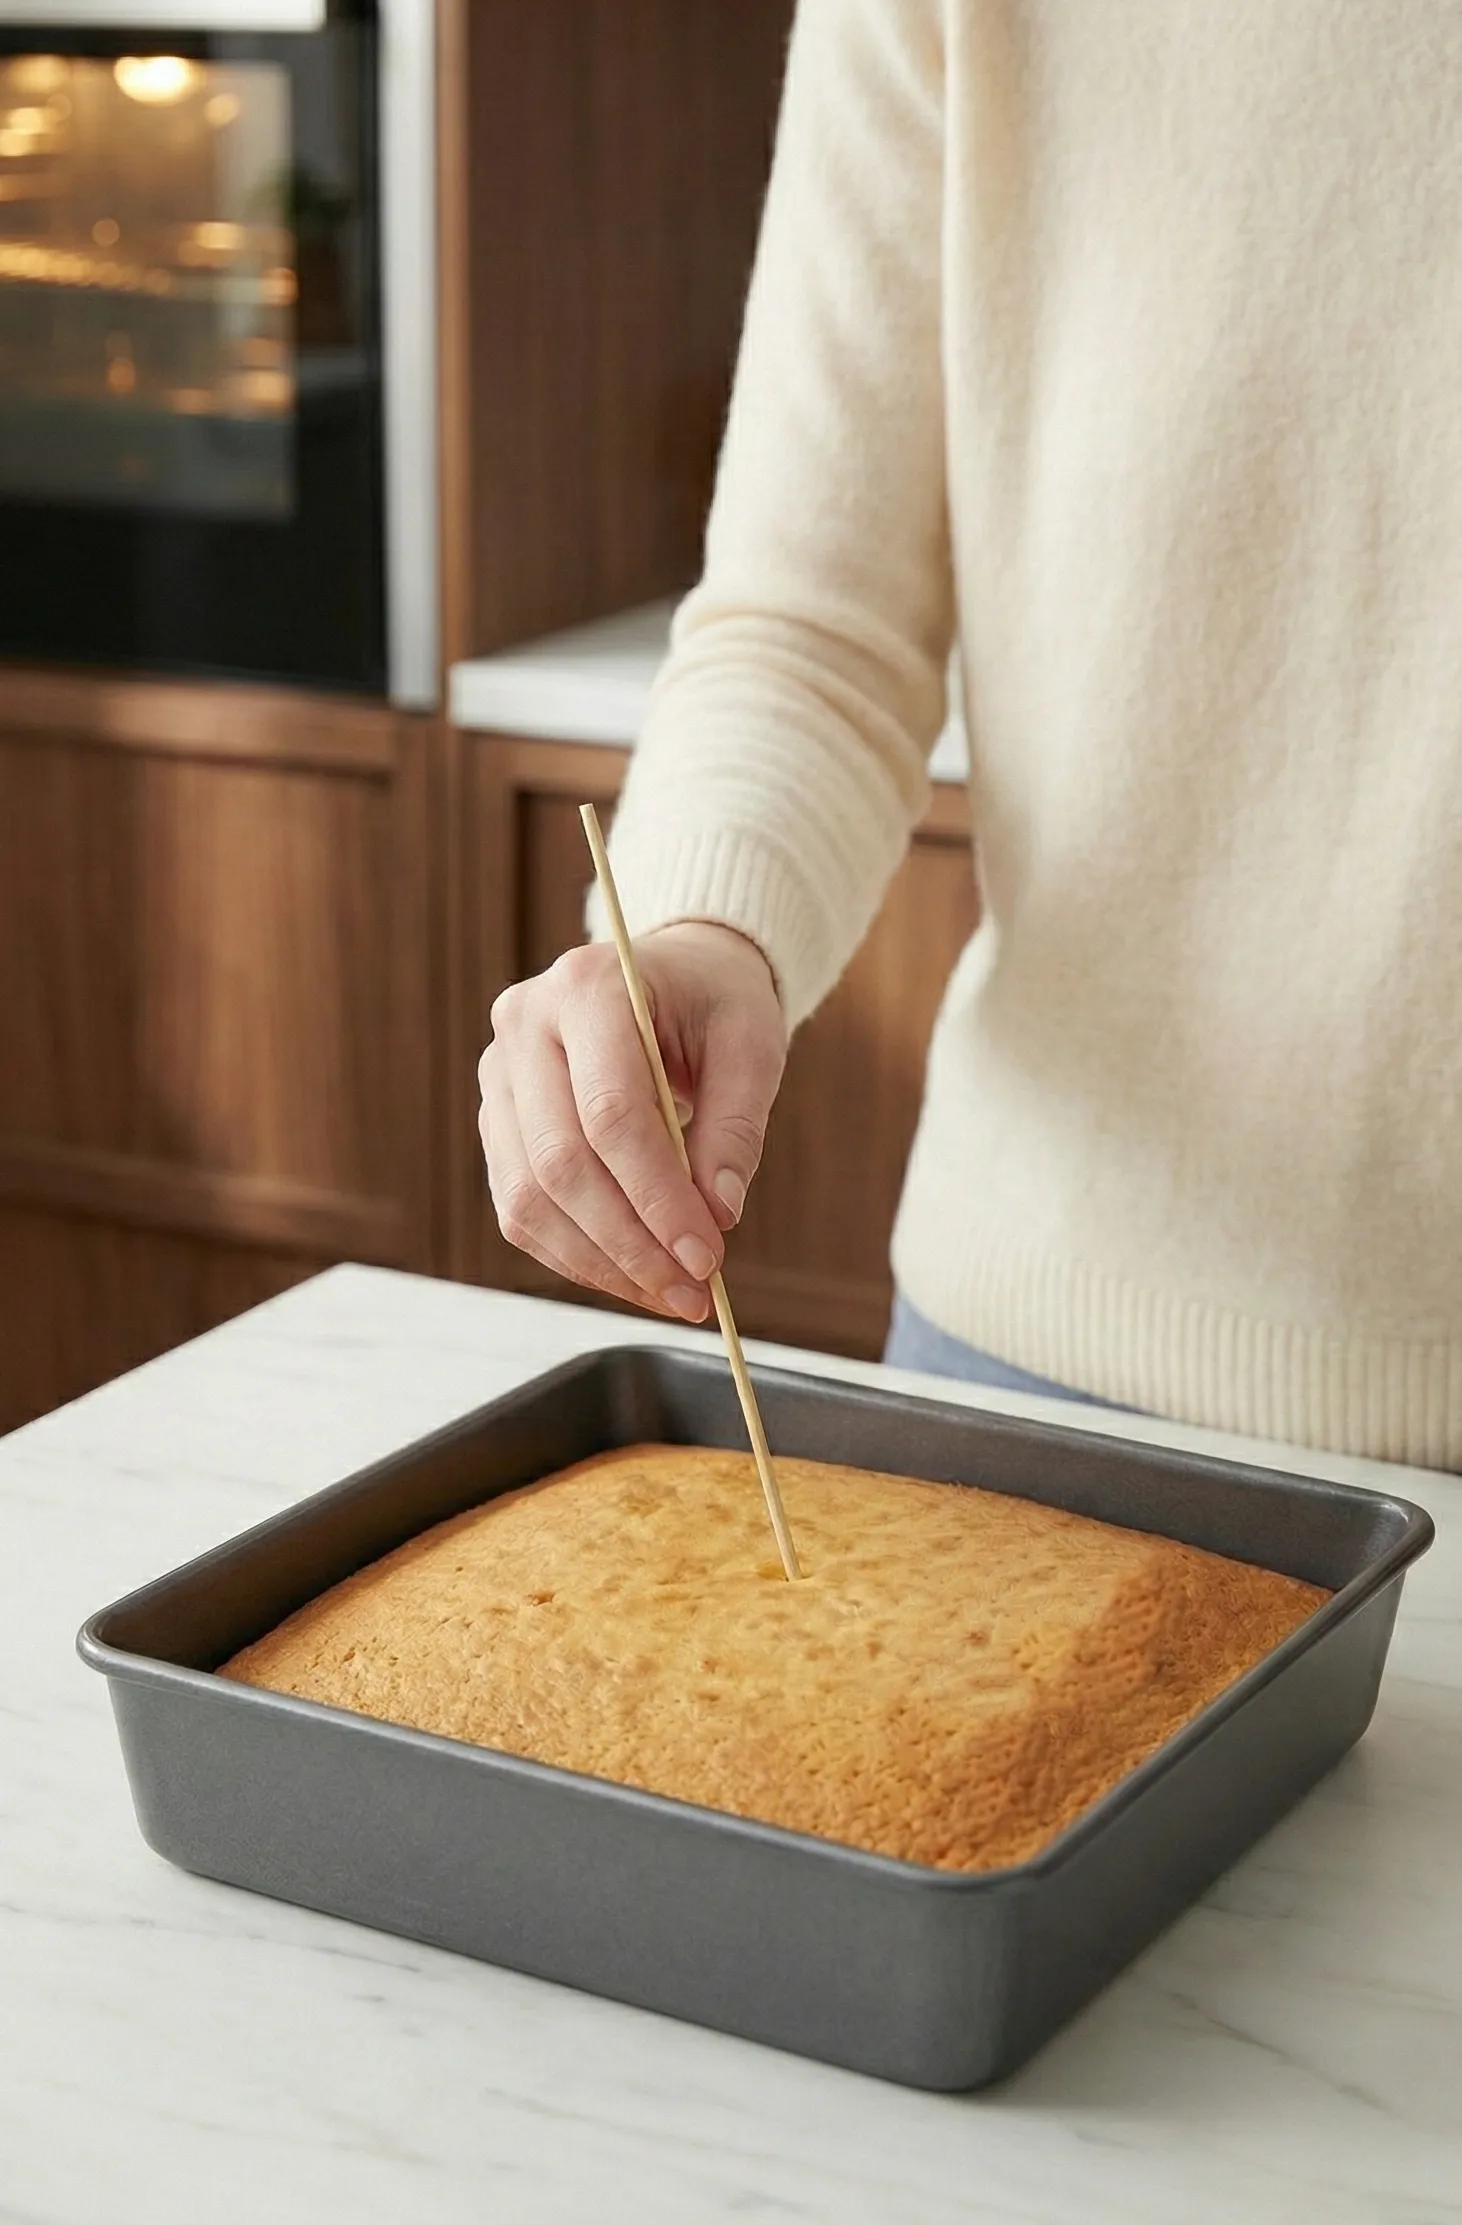
Divide the batter evenly between the two tins. Smooth the surfaces with the back of a spoon or a small offset spatula, and bake for 40 minutes until risen, golden, and a skewer inserted into the middles comes out clean. If any wet batter clings to the skewer, bake for 5 minutes more, then check again. Don't be tempted to open the oven door too early, because the temperature drop can cause the cakes to sink.
Cool in the tins for 20 minutes. Let the structure set. Then move to a wire rack. Cool completely. I mean completely. Cold cakes. If they're even slightly warm, your buttercream will slide right off. USDA guidelines aside, warm cakes plus buttercream equals a mess. Once cooled, wrap them well and they'll keep in the freezer for three months. Make them ahead if you want.
Step 3: Creating the Buttercream and Frozen Dome
Beat the butter, 500g icing sugar, milk, and vanilla until smooth. Takes about 3-4 minutes on medium speed. You want it light. Fluffy. When you lift the whisk, it should hold its shape. Butter temperature matters here. Too cold? Won't incorporate. Too warm? Greasy mess. Get it right, and you're golden.
Cut a roughly 14cm circle of baking parchment. Scrunch it up. Line a 12cm bowl with it. That's your dome mold. Spoon half the buttercream in. Push it down. Smooth the surface. Cover it. Freeze for 15 minutes. Needs to be solid enough to hold its shape when you flip it, but not rock-hard. There's a sweet spot.
Step 4: Assembling the Layers
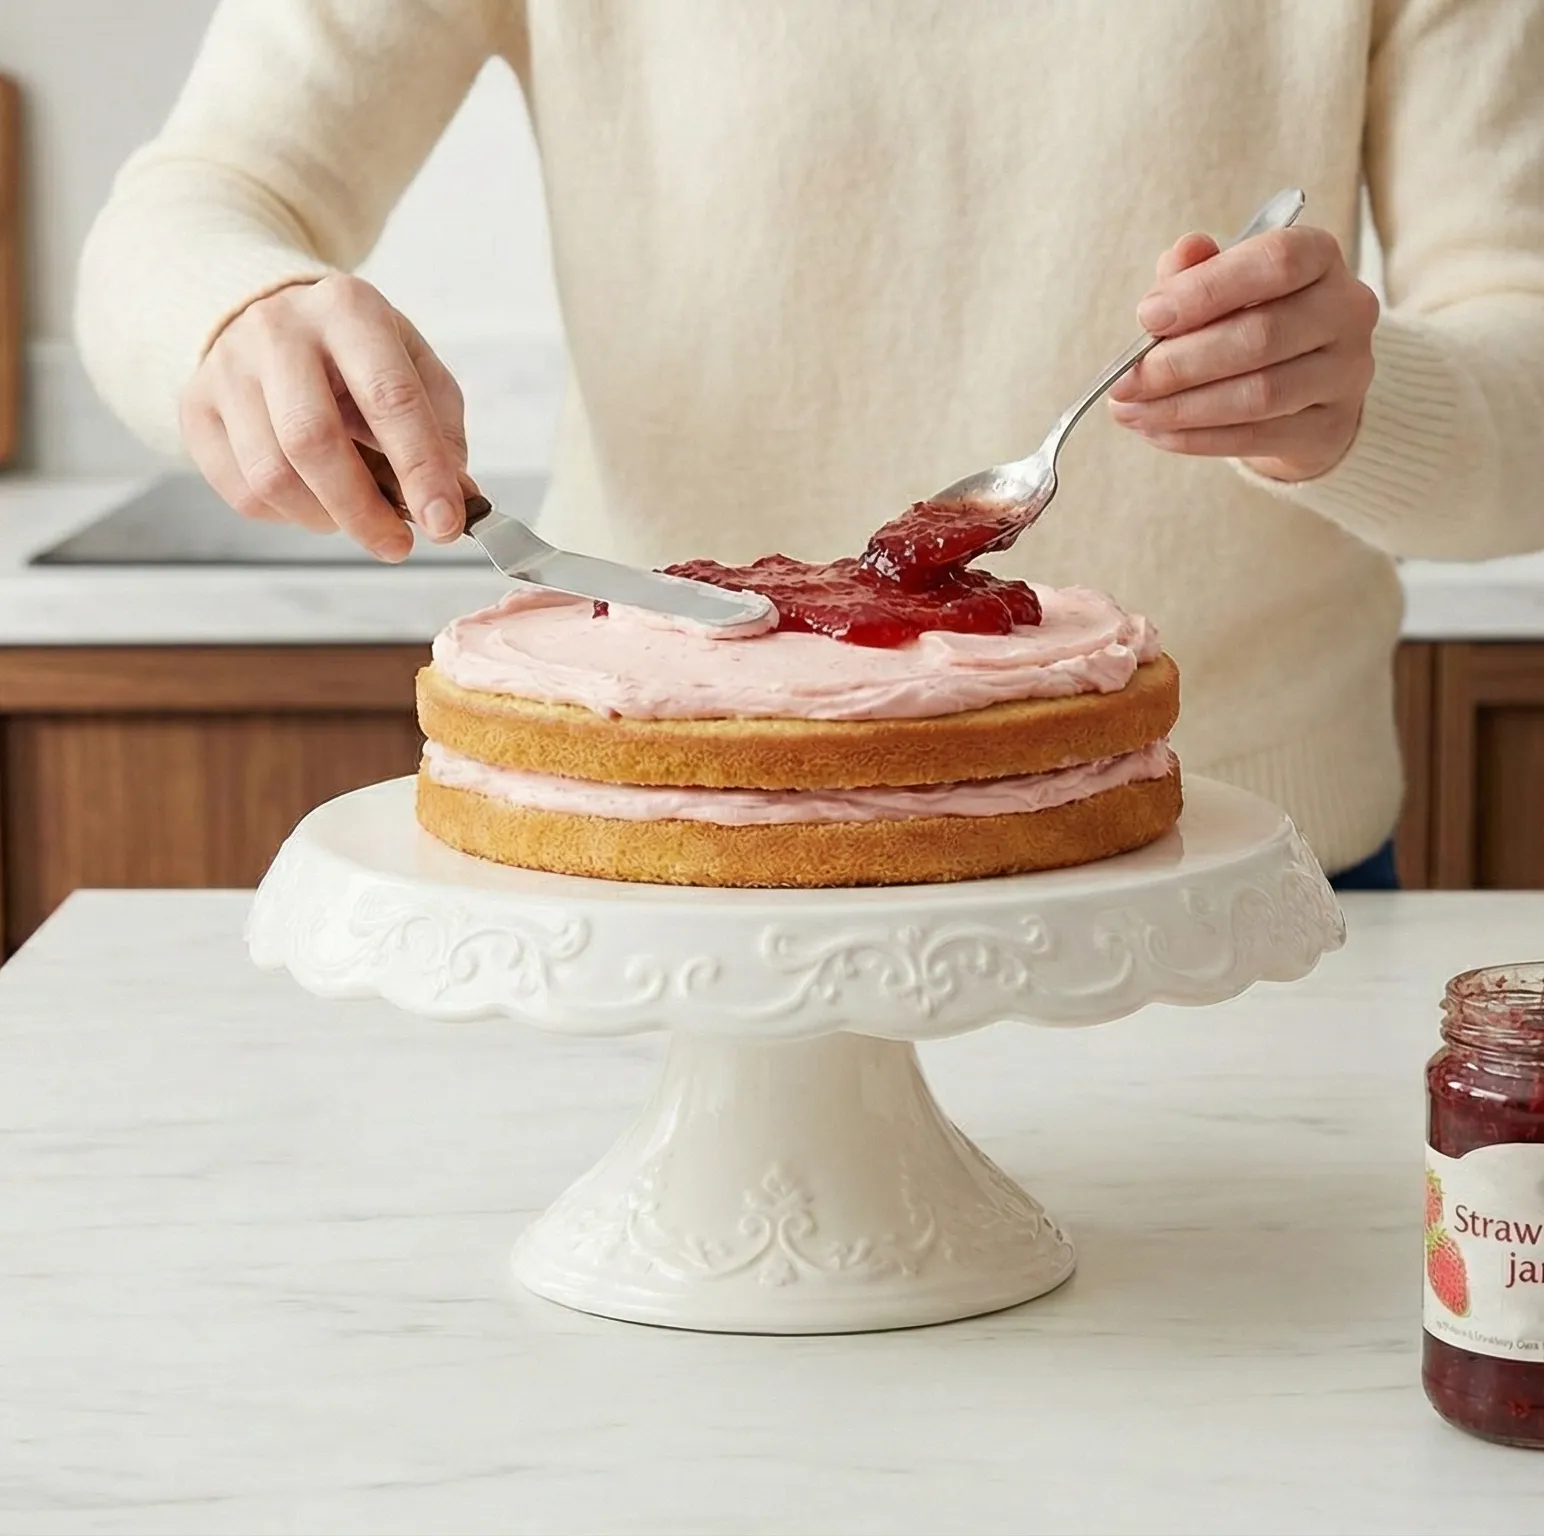
Cut the sponges in half. Use a long, serrated knife. A bread knife works. Take your time. Gentle sawing motion. You want four even layers. One layer on the stand. Spread a quarter of the buttercream. Spoon a third of the jam. Sandwich with another layer.
Repeat with the rest of the sponge layers, using most of the remaining buttercream and the rest of the jam. Spread the last of the buttercream over the top and sides of the cake. Don't worry if it isn't perfectly neat, because the fondant will cover it. The buttercream layer should be relatively smooth, but small imperfections are fine.
Step 5: Working with Fondant
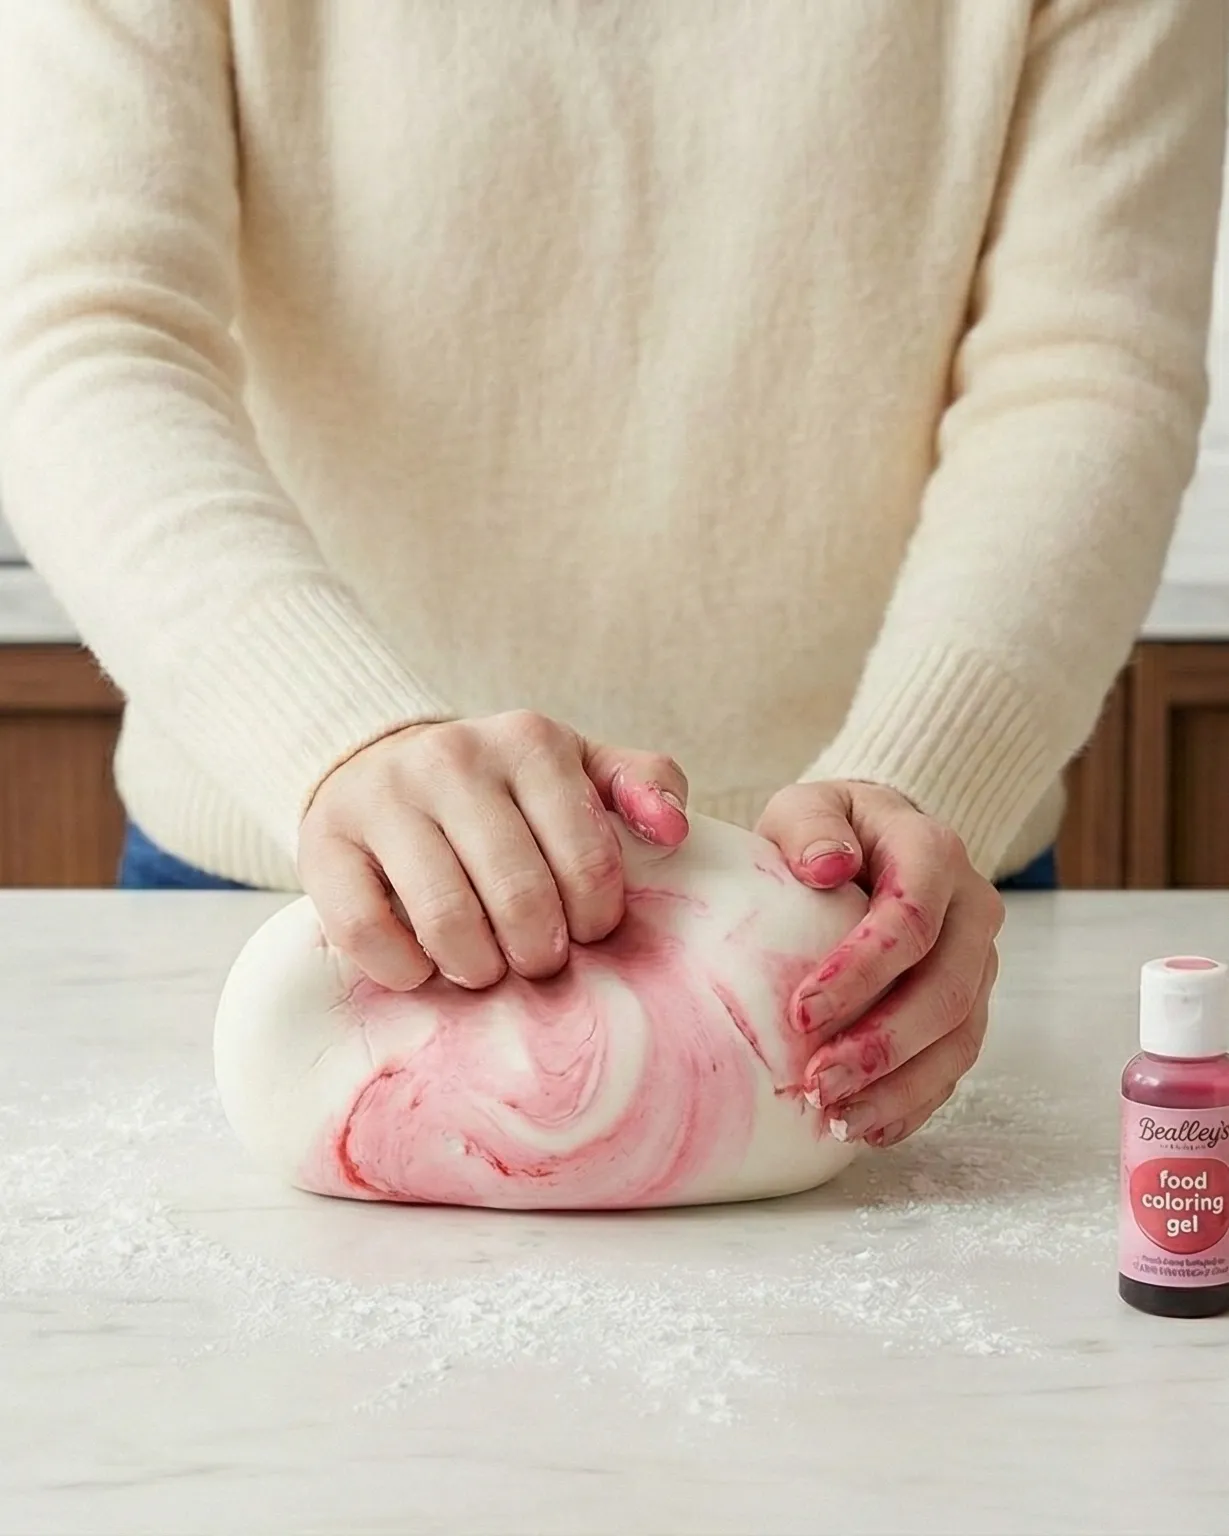
Dust a clean surface with icing sugar. Tip the fondant out. Add a few drops of pink food coloring gel. Knead it in. Takes patience. Work the color through gradually, or you'll get streaks. FDA-approved gel-based colorings work best for fondant. Too sticky? More icing sugar on the surface.
Roll it out. Roughly 60 x 60cm square. About 5mm thick. Thick enough not to tear. Thin enough to drape. If it sticks, lift it. Dust more icing sugar underneath.
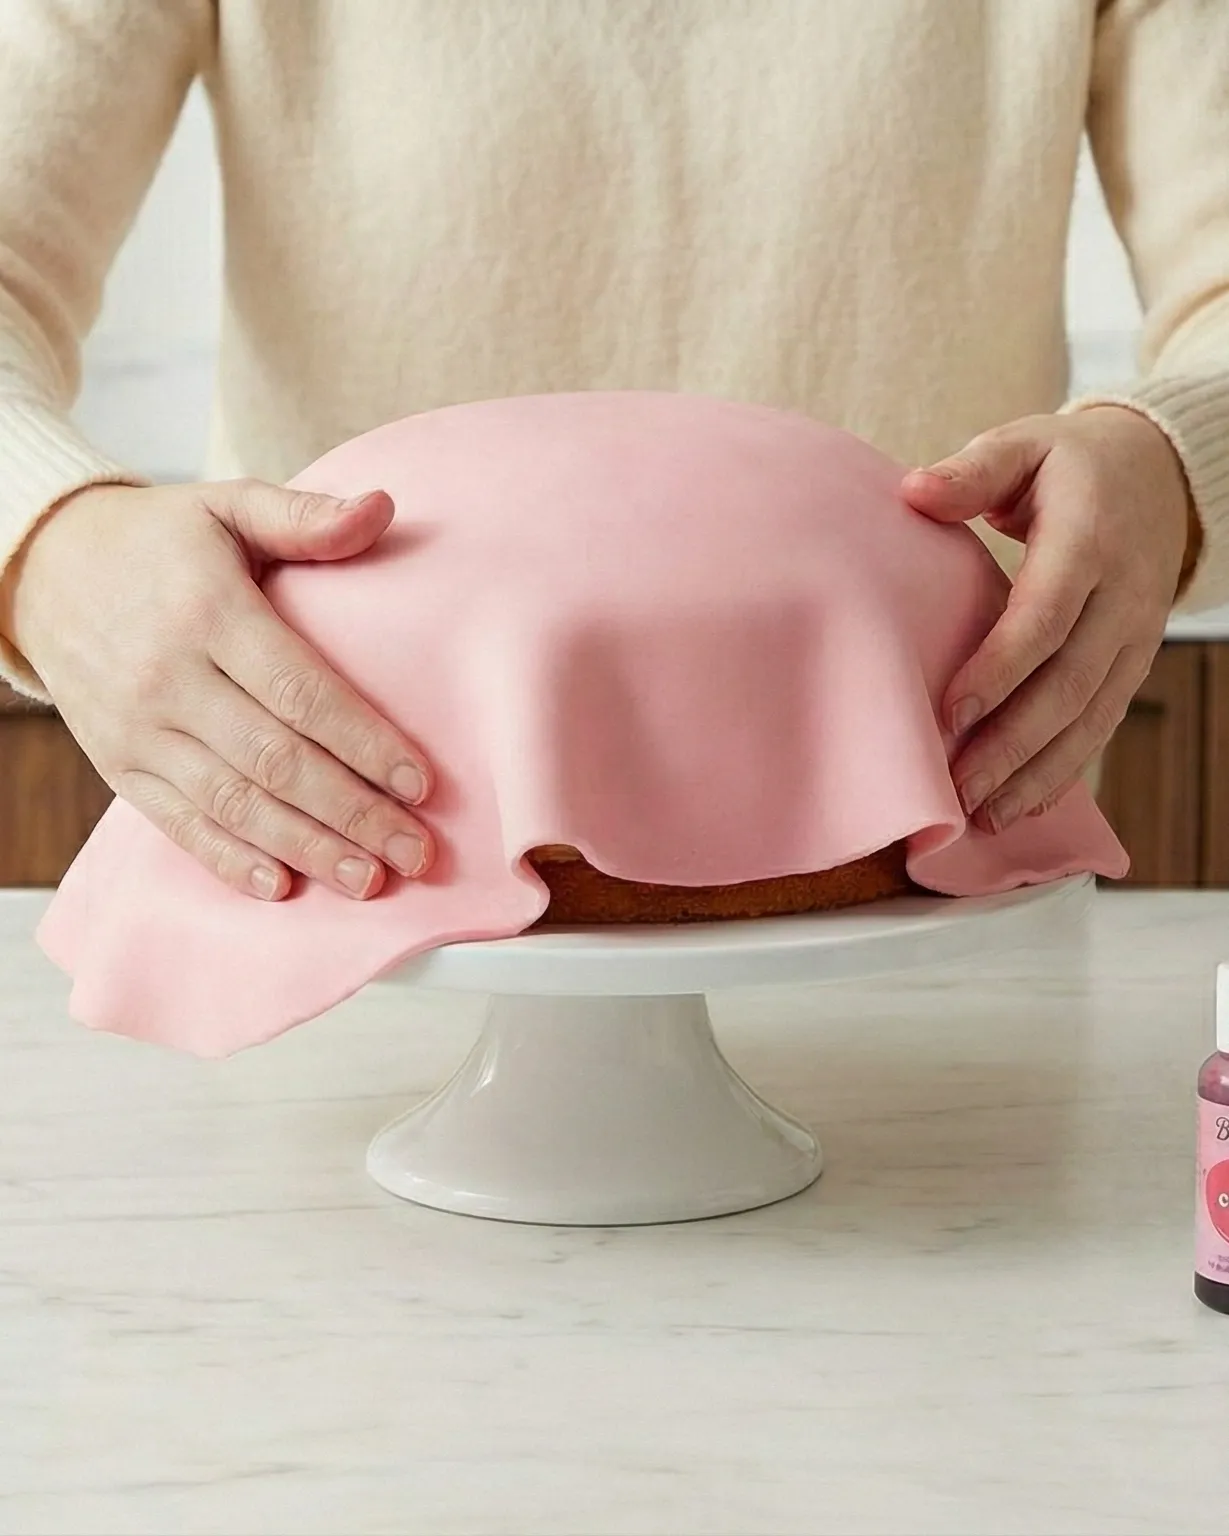
Step 6: Draping the Fondant
Flip the frozen dome onto the cake. Remove the parchment. Center it. Now lift the fondant over everything. Smooth it over the dome first, then down the sides. Top to bottom. Work out air bubbles as you go. They'll show if you don't.
Use a sharp knife to trim any excess fondant around the base. Work slowly here, because fondant can tear if you rush. If you do get a small tear, you can patch it with a small piece of fondant, but it's better to avoid it in the first place.
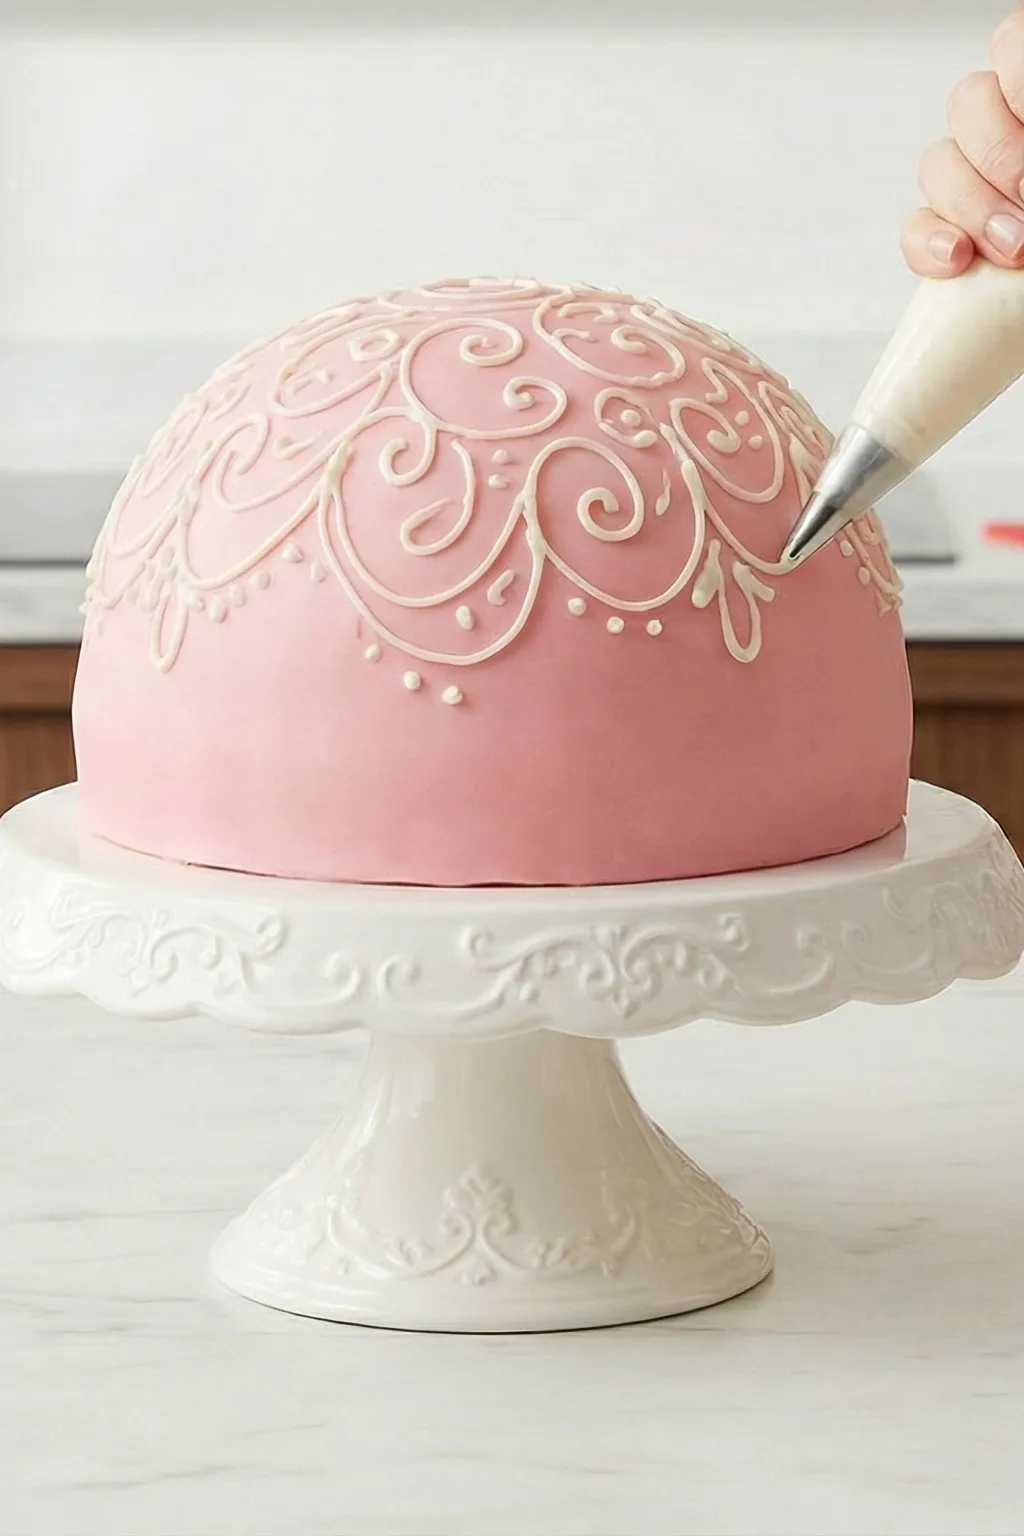
Step 7: Final Decoration
Mix the 3 tbsp icing sugar with enough water to make a thick, drizzly icing. You want it thick enough to hold its shape when drizzled, but thin enough to flow. Spoon into a piping bag, snip off the tip (start small, you can always make it bigger), and drizzle it back and forth over the cake in an elegant pattern.
Leave to dry for a few minutes before serving. The cake will keep in an airtight container for three days, though it's best enjoyed within the first day or two when the fondant is at its freshest.
Notes
Equipement: Two 20cm square tins Baking parchment Electric whisk Large mixing bowl Wire rack for cooling Long, serrated knife 12cm bowl (for the dome) Rolling pin Piping bag Skewer for testing Golden caster sugar? Worth it. Richer flavor than regular granulated. Self-raising flour means you skip the baking powder dance. No electric whisk? A stand mixer works fine. Hand whisk? Your arms will hate you, but it's doable. For more on baking equipment, we've got a guide that actually covers the stuff you'll use.
Making It Your Own: Variations and Tips
Want to change it up? Swap the jam. Apricot works. Cherry. Even lemon curd if you’re feeling fancy. Vanilla can become almond extract. Add rose water to the buttercream for a floral note. Once you’ve got the basics down, experiment. Professional bakers do it all the time.
Fondant color? Not stuck with pink. Deep red looks great. Mix colors for a gradient. Warm kitchen? Keep the fondant in the fridge until you need it. Work fast once you start rolling.
Short on time? Make the sponges a day ahead. Wrap them well. Buttercream too—make it, refrigerate it, bring it to room temp and re-whip when you need it. Fondant? Do that the day you’re serving. Fresh is better. Having your kitchen organized helps. Trust me.
The Moment of Truth: Serving and Enjoying
Time to present it? Dim the lights. Light a candle. Put it where everyone can see it. The reveal matters. Cut generous slices. This is a celebration.
Texture? Moist. Tender. The jam cuts through the rich buttercream. Fondant’s smooth. Slightly chewy. More for looks than taste, but it completes the whole thing.
Leftovers? Airtight container. Three days max. Fondant softens a bit, but the cake stays good. Too much cake? Freeze individual slices. Wrapped well, they’ll keep for three months.

