The case for skipping the carving this year is simple: an uncut pumpkin lasts for months in cool conditions, while a carved one starts collapsing within days. Extension guides on pumpkin preservation, like this one from South Dakota State University, explain why the cuts are the problem: every cut is surface area for rot. No knife means no rot clock, no pulp on the table and no bag of seeds to deal with in a small kitchen.
Why uncut pumpkins suit a small apartment
Carving is a messy hobby designed for a garage or a backyard. In a small apartment the pulp lands on the same table you eat from, the seeds fill the only colander you own, and the finished pumpkin starts to soften in a warm room within days. An uncut pumpkin avoids all of it, and it has a second life: take the Halloween face off in November and the same pumpkin works as Thanksgiving decor. If you do carve one or two for the tradition, this pumpkin preservation guide keeps them going longer.
Matte paint in one strong color
A coat of matte acrylic paint turns a grocery-store pumpkin into something that looks chosen. Terracotta, sage, cream or charcoal all read as finished decor. Two thin coats cover better than one thick one, and a foam brush leaves fewer streaks than a bristle brush. Set the pumpkin on its side on newspaper and rotate it as it dries.
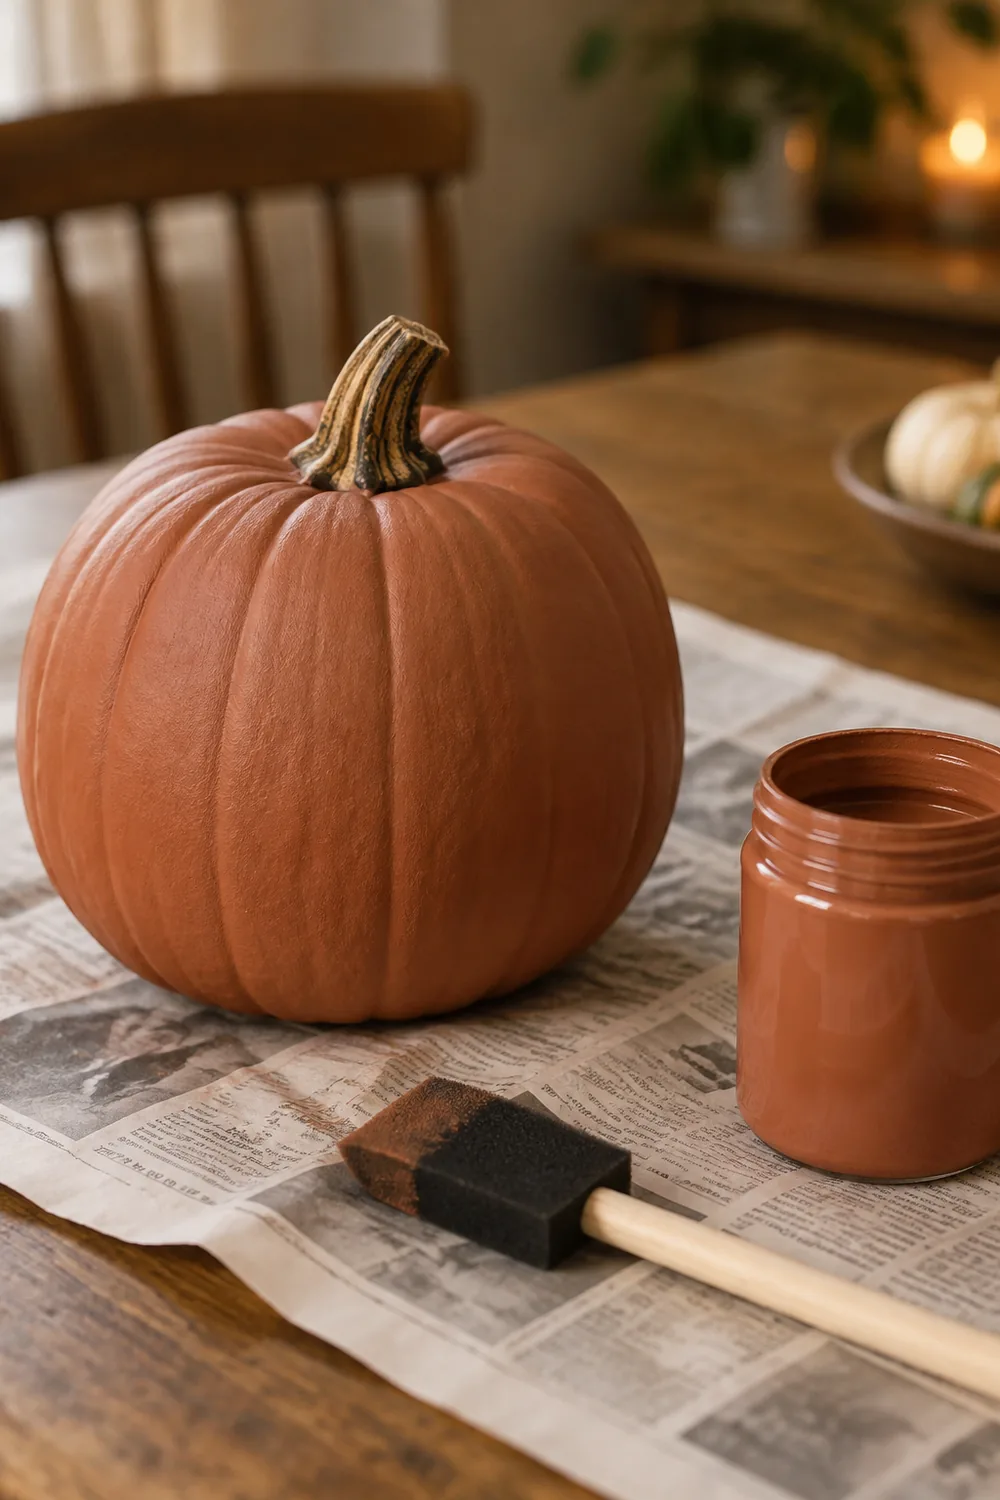

Apple Barrel Acrylic Craft Paint Set, Perfect for Arts & Crafts, 2 fl oz Each, 18 Assorted Matte Colors, 18 Count
Washi tape stripes
Washi tape is the renter-friendly version of painting, because it peels off clean and costs a few dollars. Run vertical stripes from the stem down, following the pumpkin’s ridges, or wrap one wide band around the middle. Mixing one metallic tape with one matte tape keeps it from looking like wrapping paper. This is the fastest idea on the list: ten minutes per pumpkin.
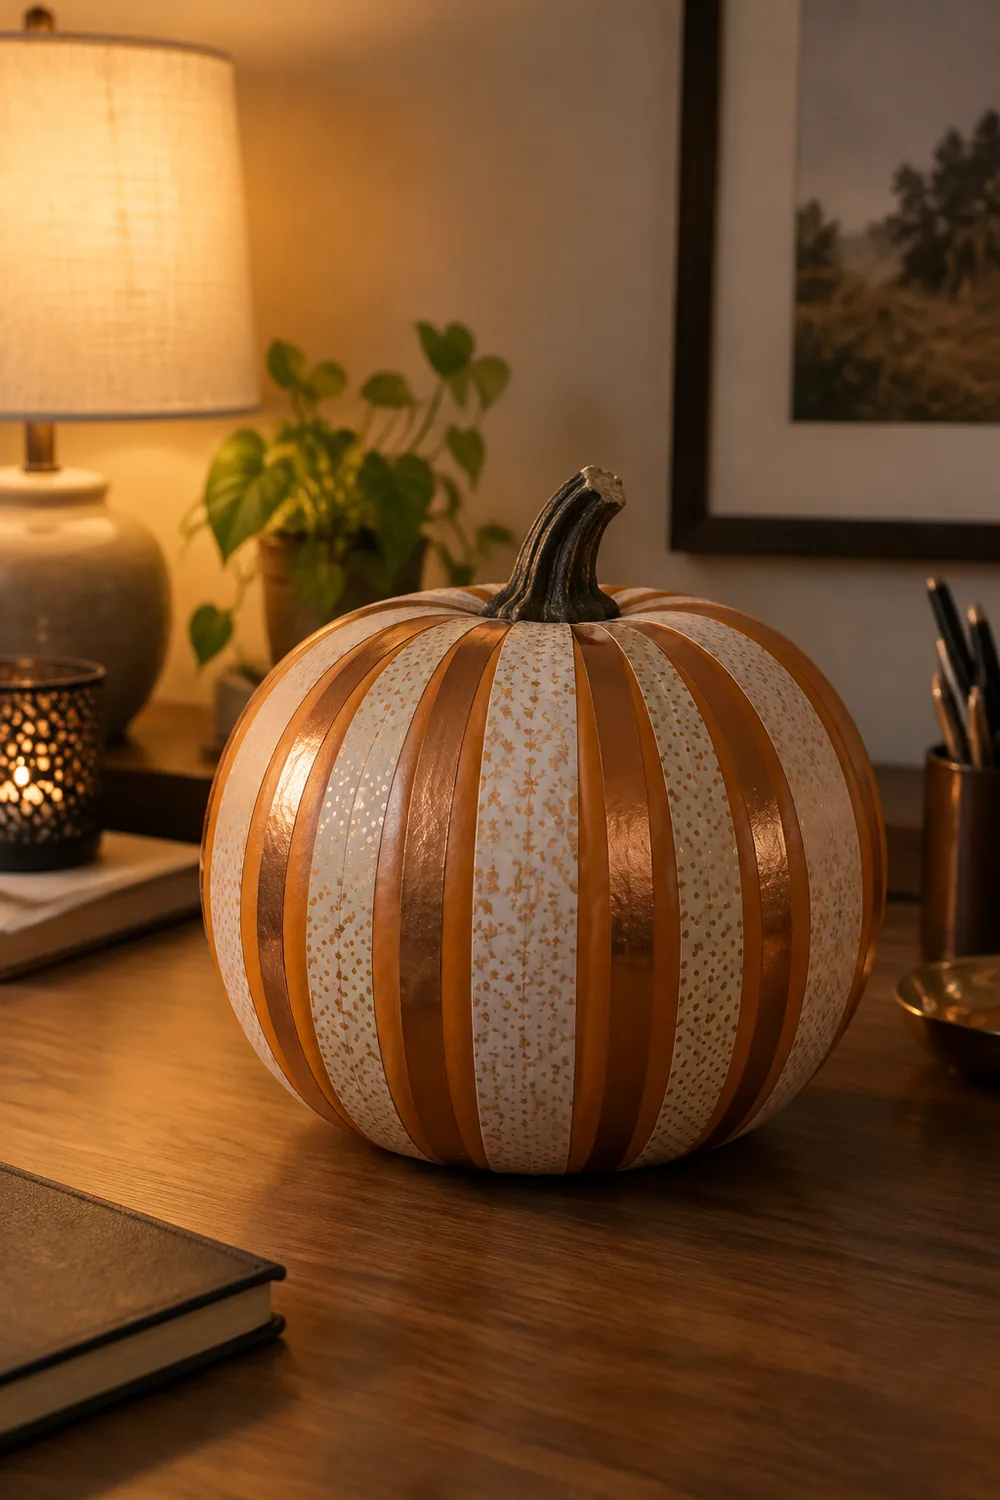

YUBBAEX Floral Gold Washi Tape Set 6 Rolls VSCO Foil Masking Tape Decorative for Arts, DIY Crafts, Journal Supplies, Planners, Scrapbook, Card/Gift Wrapping…
Pushpin studs
Brass or black pushpins pressed into the rind in a pattern, a monogram, a constellation or simple rows, give a pumpkin texture without any paint. Press them in firmly; the rind of a fresh pumpkin takes a pin without cracking. Space them a finger-width apart so the pattern reads from across the room.
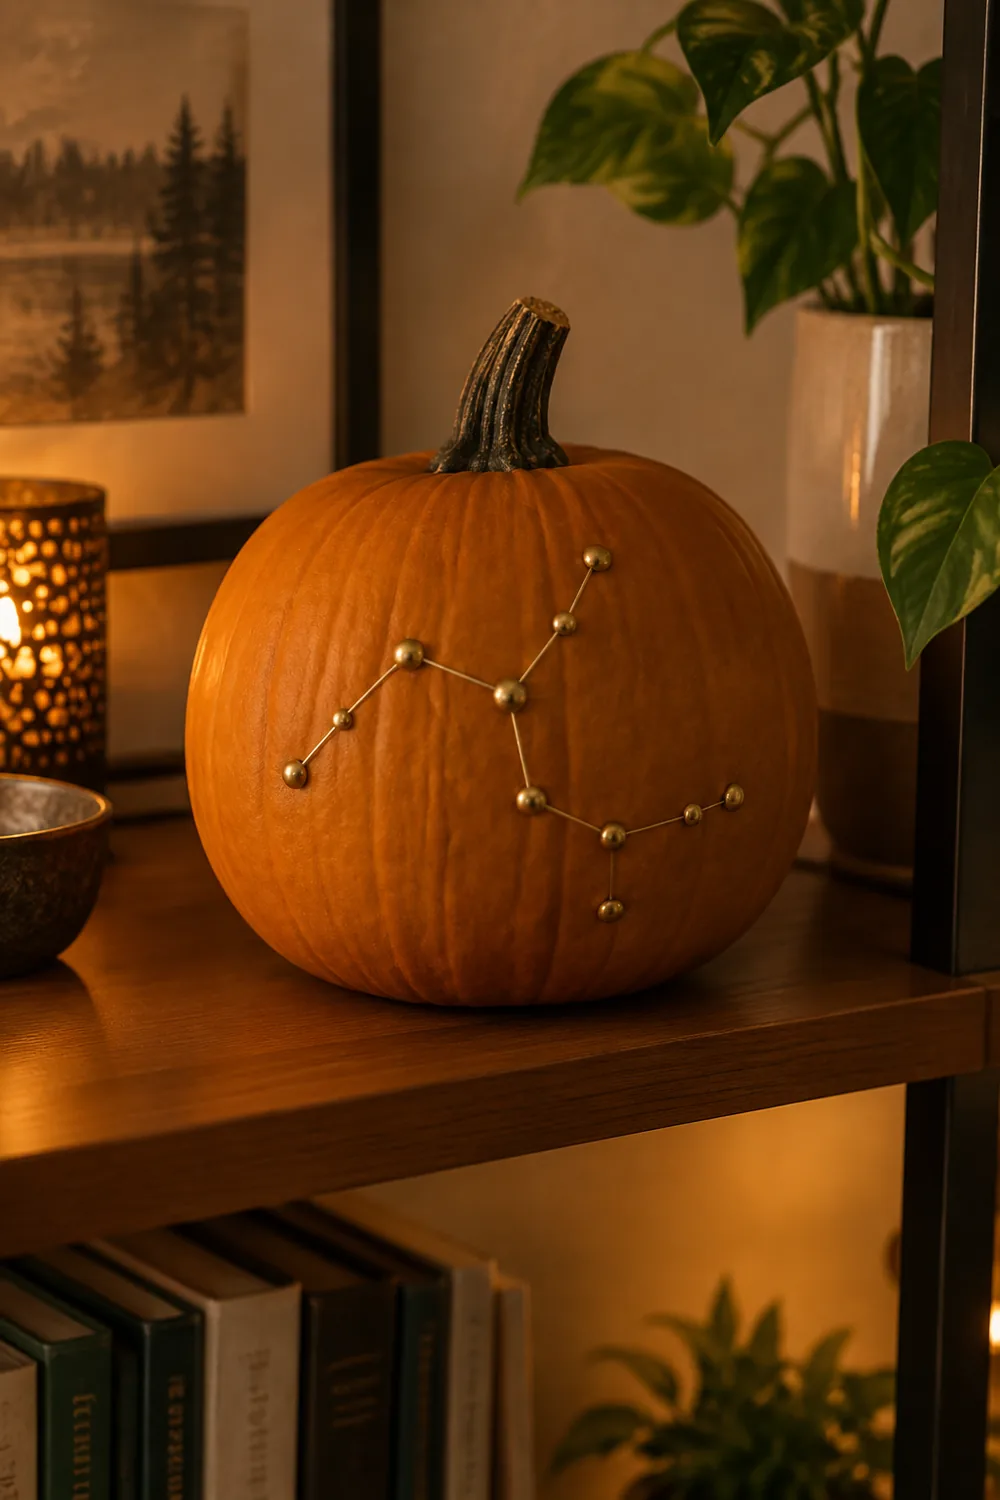

215 Push Pins for Bulletin Board Thumb Tacks for Wall Corkboard Map Calendar Photo -Home Office Craft Projects Heavy Duty Plastic Head Steel Pin (Gold)
Decoupage with napkins or fabric
Tear patterned paper napkins or fabric into pieces and press them on with decoupage glue or diluted white glue. Overlap the pieces like scales and finish with one more coat of glue over the top. Gingham and small florals look right in fall; dark botanical prints read more Halloween. The finish dries matte and holds for the whole season.
The mummy wrap
For a Halloween-specific look that needs zero artistic skill, wrap the pumpkin in gauze bandage, tuck the ends under, and add two googly eyes peeking out between the wraps. It reads as a mummy from across the room, it takes five minutes, and kids can do the wrapping. A grouping of three sizes on a shelf, as in this Halloween shelf styling, is enough for a whole room.


DORIS HOME Cream Ribbon 2" x 21 Yd, 3 Rolls Frayed Edge Chiffon Ribbon
Painted patterns without the commitment
If freehand painting sounds like too much, paint simple shapes: half-moons, dots or a color-blocked bottom half. Use the pumpkin’s ridges as guides and a pencil first, because pencil wipes off a waxy rind with a damp cloth. Two colors are enough; three start to look busy on a small pumpkin.
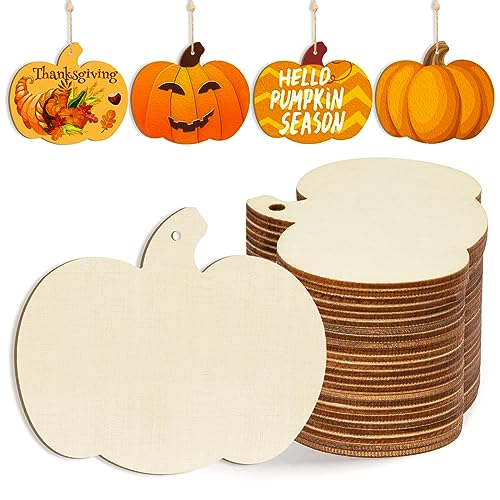
Wooden Pumpkins Ornaments to Paint Halloween Thanksgiving Decoration Cutouts Unfinished 24PCS 3.5 x 3 inches, DIY Blank Unfinished Pumpkin Wood Discs…
Make them last until Thanksgiving
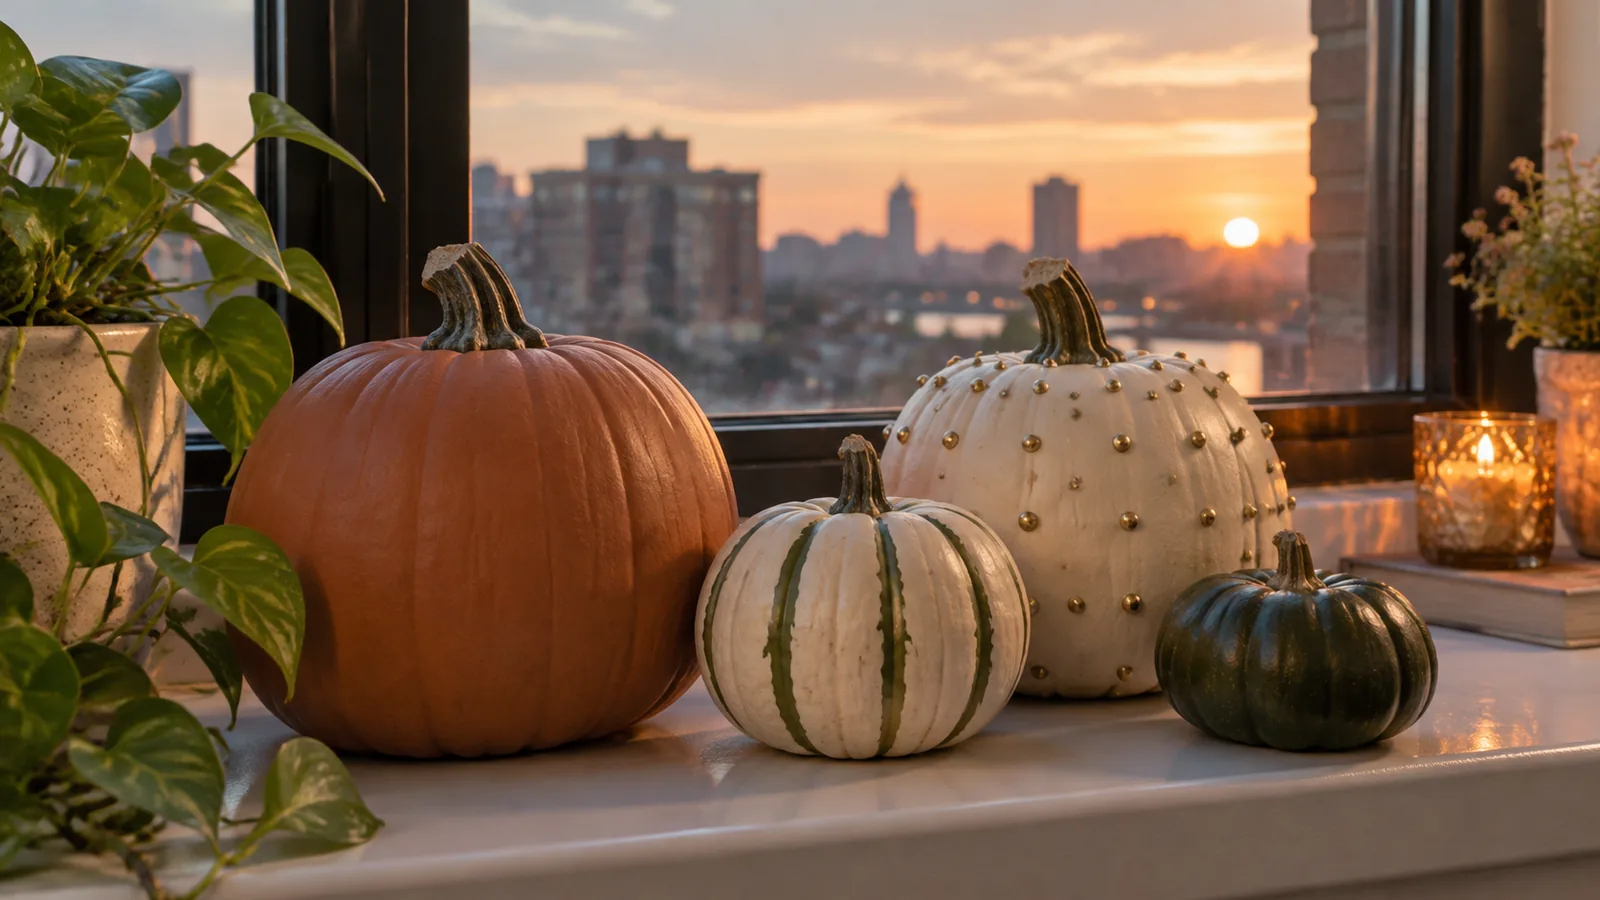
Uncut pumpkins keep best at 50 to 60°F and out of direct sun, the same conditions extension guides recommend for carved ones. A cool windowsill or a shaded balcony shelf works. Wipe them with a dry cloth every week or two. Kept cool, they carry straight through to the Thanksgiving table, where the 12-inch centerpiece rule applies to them too.