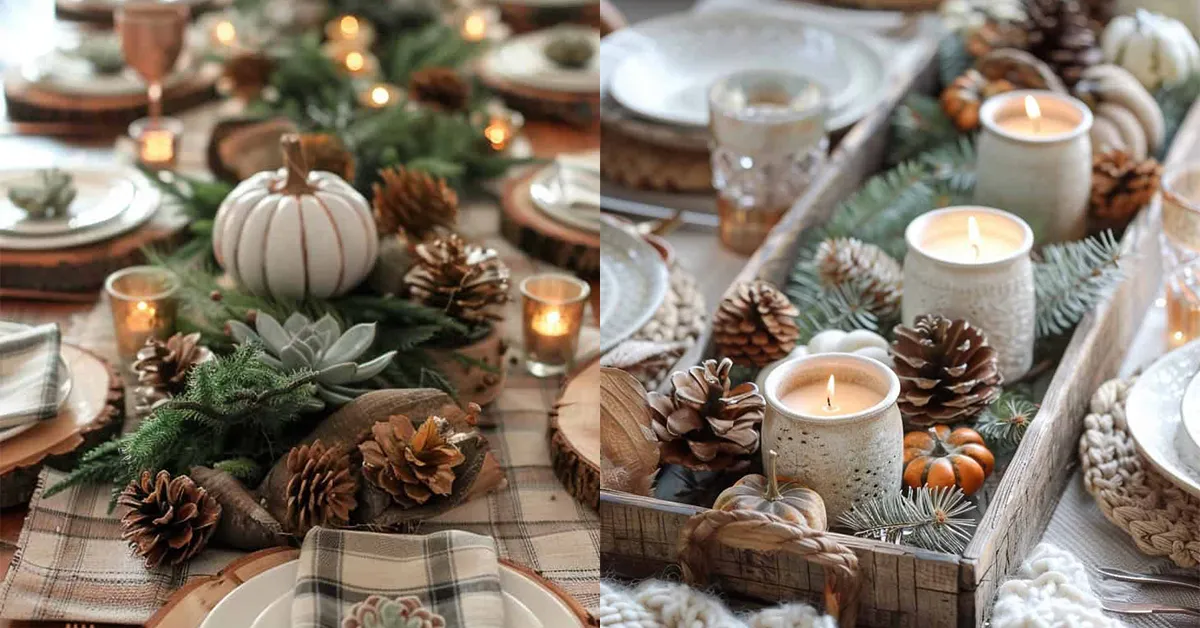
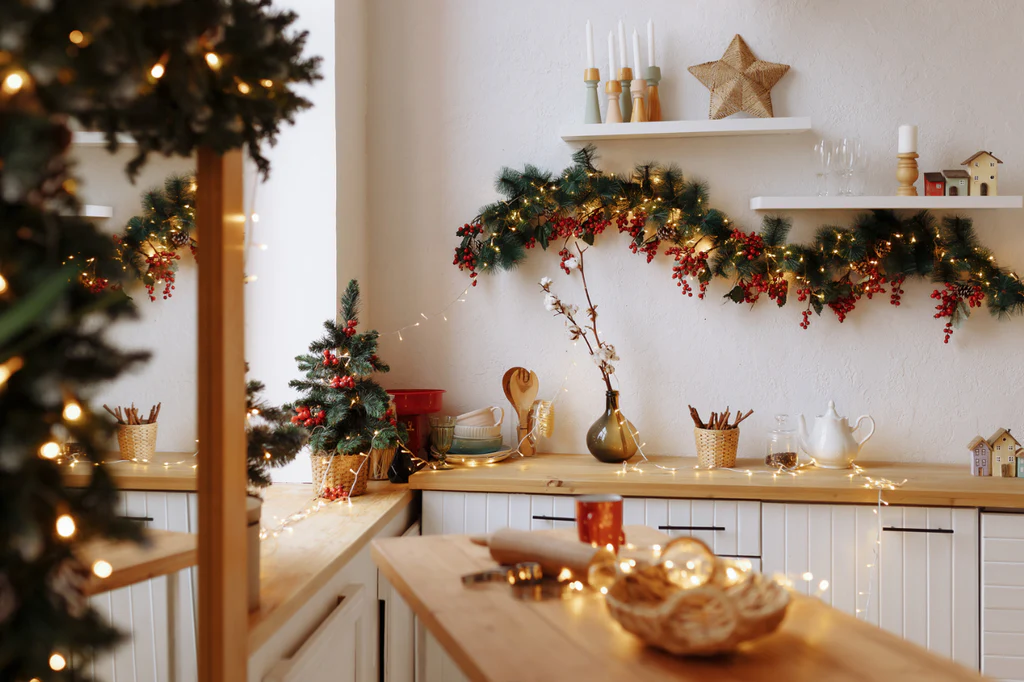
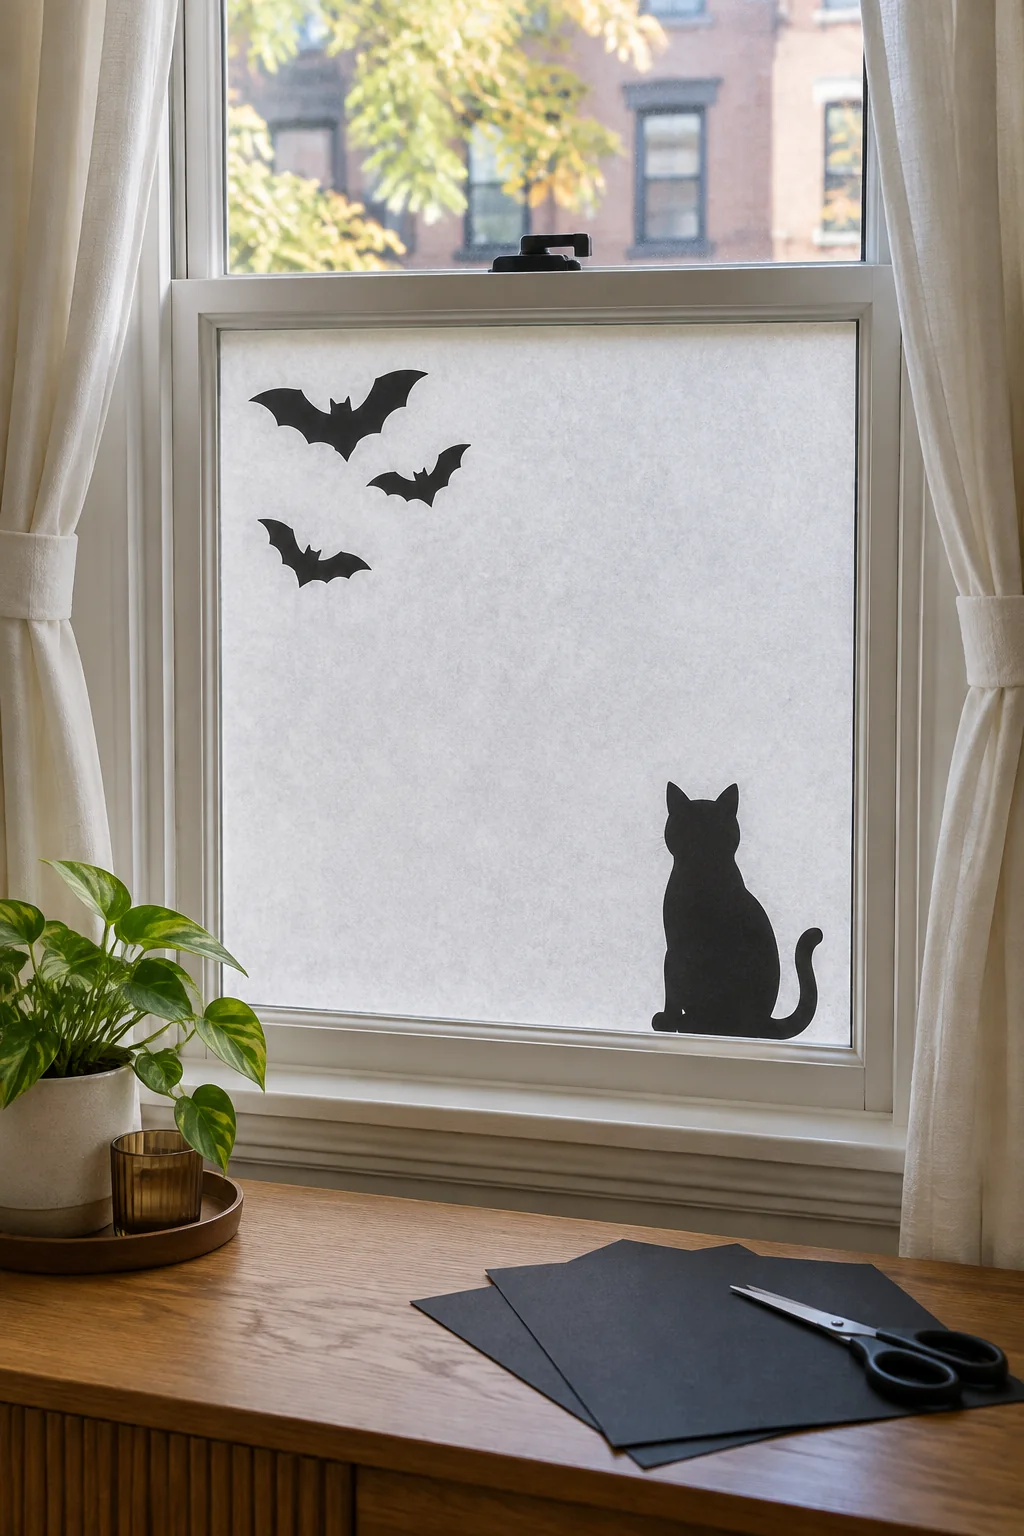
A few black paper shapes and a lamp can give a living-room window a Halloween look after dark. I would start with one lower pane: a seated cat near the bottom, a small group of bats above it, and a translucent paper backing if the shapes disappear against the room. Leave the rest of the glass clear so the room still gets daylight.
That layout also gives you a decision to make before you cut anything. Do you want a decoration you enjoy from the couch, a silhouette people can see from the sidewalk, or both? The view changes when the sun goes down. A window that looks crisp at noon can turn into a dark rectangle at night if there is no light behind it.
The images are generated styling illustrations, not photographs of a finished DIY project. Measure your own glass and follow the window and adhesive manufacturers’ instructions.
Give the scene one pane
I like the lower-pane layout because the Halloween detail stays at eye level from inside. The upper glass remains open to the sky, and the room keeps some of its normal rhythm. A paper cat at the bottom has a place to sit. Bats can rise from one corner instead of covering every inch.
Choose the pane after checking how the window opens. Keep the latch, tracks, handles and any required escape opening usable. Don’t tape across the joint between moving sashes, cover a ventilation opening, or make someone peel away a decoration to open the window. If the only suitable pane is part of a required exit window, choose a smaller clear-glass decoration that does not interfere with its use.
Measure the visible glass inside the frame. A sheet sized to the entire outside frame will overlap the hardware and look awkward from the room. I’d make a paper mockup first, hold it in place temporarily, and check the view from the sofa. A quick photo helps reveal whether the cat is hidden behind a curtain or a bat has landed right on the sash bar.
Paper backing or clear glass?
The two versions give the room different moods. Translucent tracing paper creates a pale background that makes a dark silhouette easier to read. Clear glass keeps the view and usually feels lighter during the day. You don’t need to combine them across the whole window.
tesa’s window project uses measured tracing paper, black cardboard silhouettes and removable adhesive pads. It attaches the silhouettes so the motif reads from outside. That is a useful starting method for a lower-pane scene, though the adhesive still needs to be suitable for your particular glass and finish.
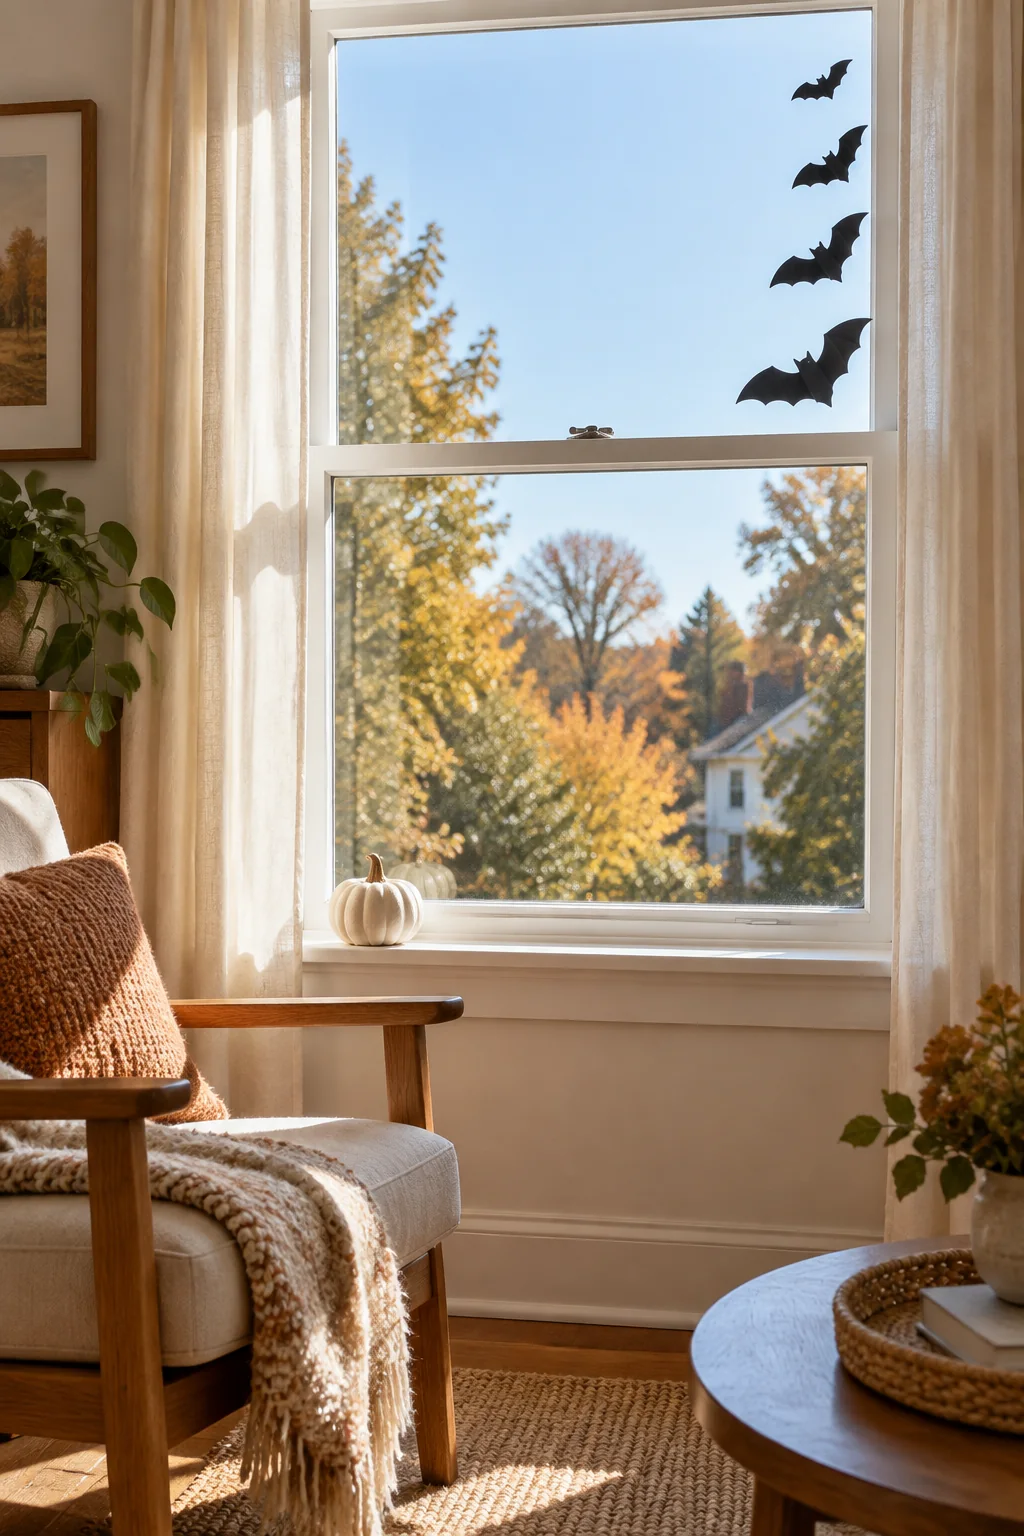
For a clear-glass version, I would put a loose arc of bats along one edge and leave the middle empty. Use a few different sizes, with the biggest low in the arrangement and the smallest higher up. The goal is a readable direction of movement. Tiny scattered shapes can be hard to see from the street and fussy from the couch.
Cricut’s removable-vinyl silhouette project is another route if you already own a cutting machine. You can also draw simple shapes by hand and cut paper with scissors. I wouldn’t buy a machine for one seasonal window. Paper lets you change the size of a bat before committing to a more involved setup.
Cut the shapes for the distance people will see them
A silhouette needs a recognizable outline. A cat with a tall tail and clear ears reads more easily than one full of thin interior cutouts. For bats, keep the wings broad enough that the points survive cutting. Narrow paper details can curl or tear when you remove the decoration.
Lay the shapes on the floor or a table in a rectangle matching your glass before attaching them. Leave space around the cat’s ears and between the bats. If every shape touches its neighbor, the scene starts to read as one dark patch. I would keep the silhouette colors black for this version and let the room’s warm light supply the color.
Check the outside view at ground level if you can do so safely. Don’t lean out of an upper-story window or climb on furniture to inspect it. A decoration intended for pedestrians needs larger shapes than one made for the person sitting two feet away. If the window is high above the street, a single larger silhouette may be more useful than a detailed little scene.
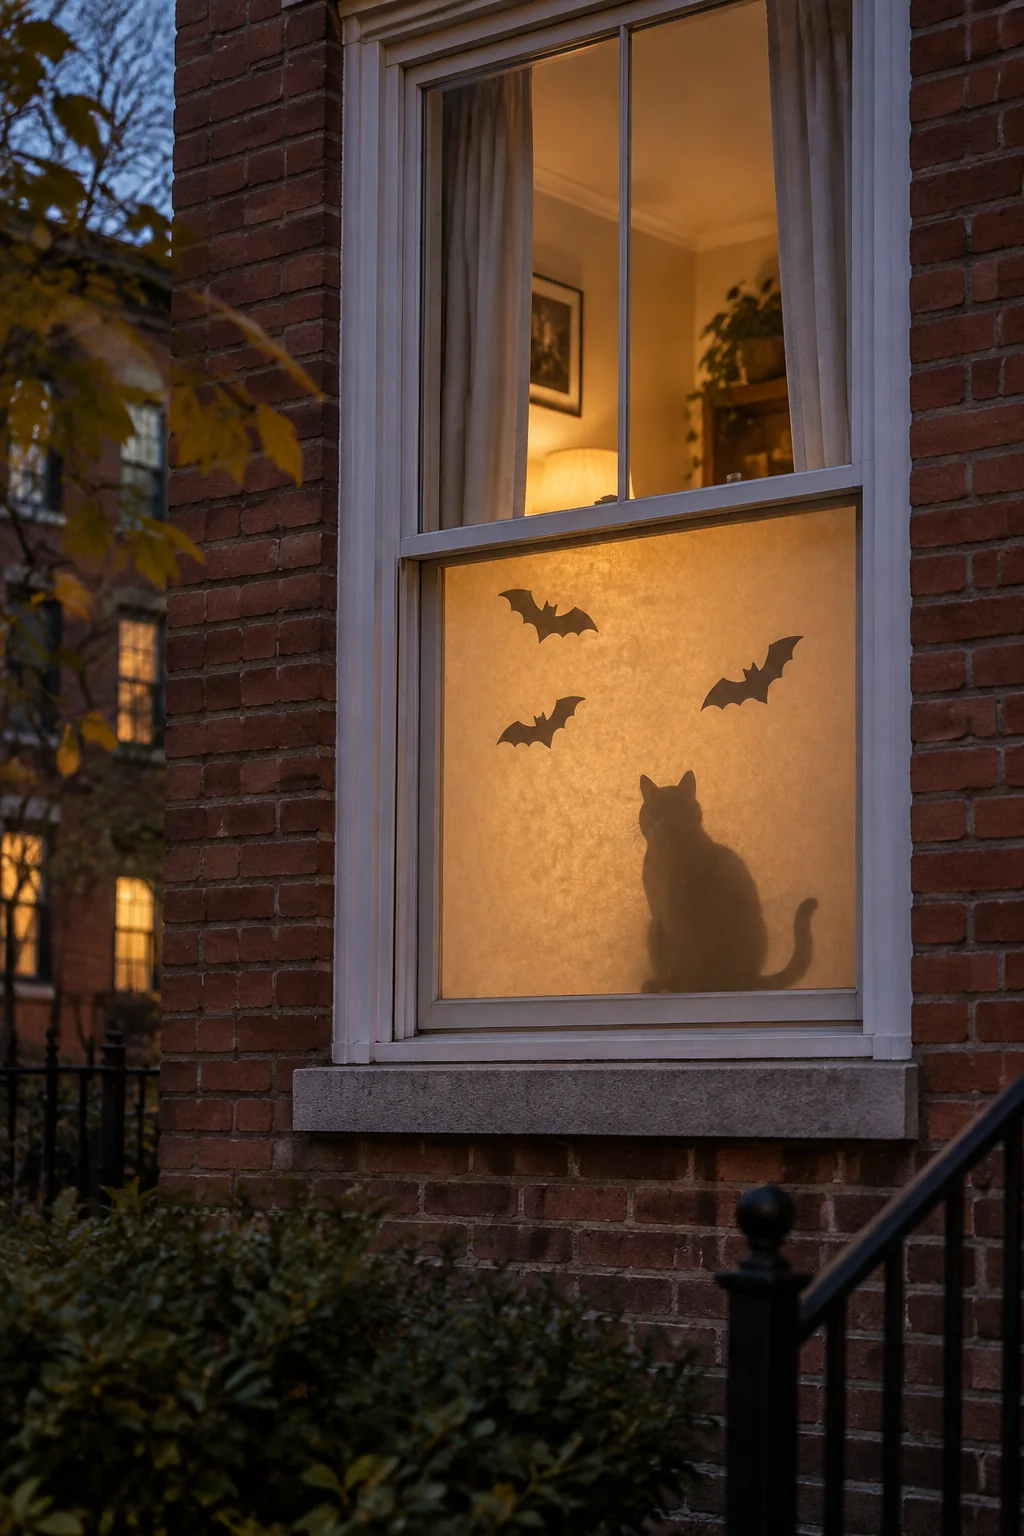
Let an existing lamp do the evening work
Cricut suggests a small lamp or LED candles behind the silhouette scene for an after-dark effect. I prefer an existing shaded lamp placed away from the paper and curtains. The soft glow fits an ordinary living room, and you can turn it off without dismantling the window.
Test the position after sunset. A lamp directly against the glass can create a bright spot; a lamp farther into the room may give a more even background. Your paper, shade and window placement will affect the result. Move the light until the shapes read from the place you care about, while keeping all clearances required by the lamp manufacturer.
Use electric lighting and keep hot bulbs, cords and fixtures clear of paper and fabric. Skip open flames near the window. Don’t run a cord through a moving sash or under a spot where a door will pinch it. If you choose battery lights, keep their battery compartments secured and follow the product’s safety instructions.
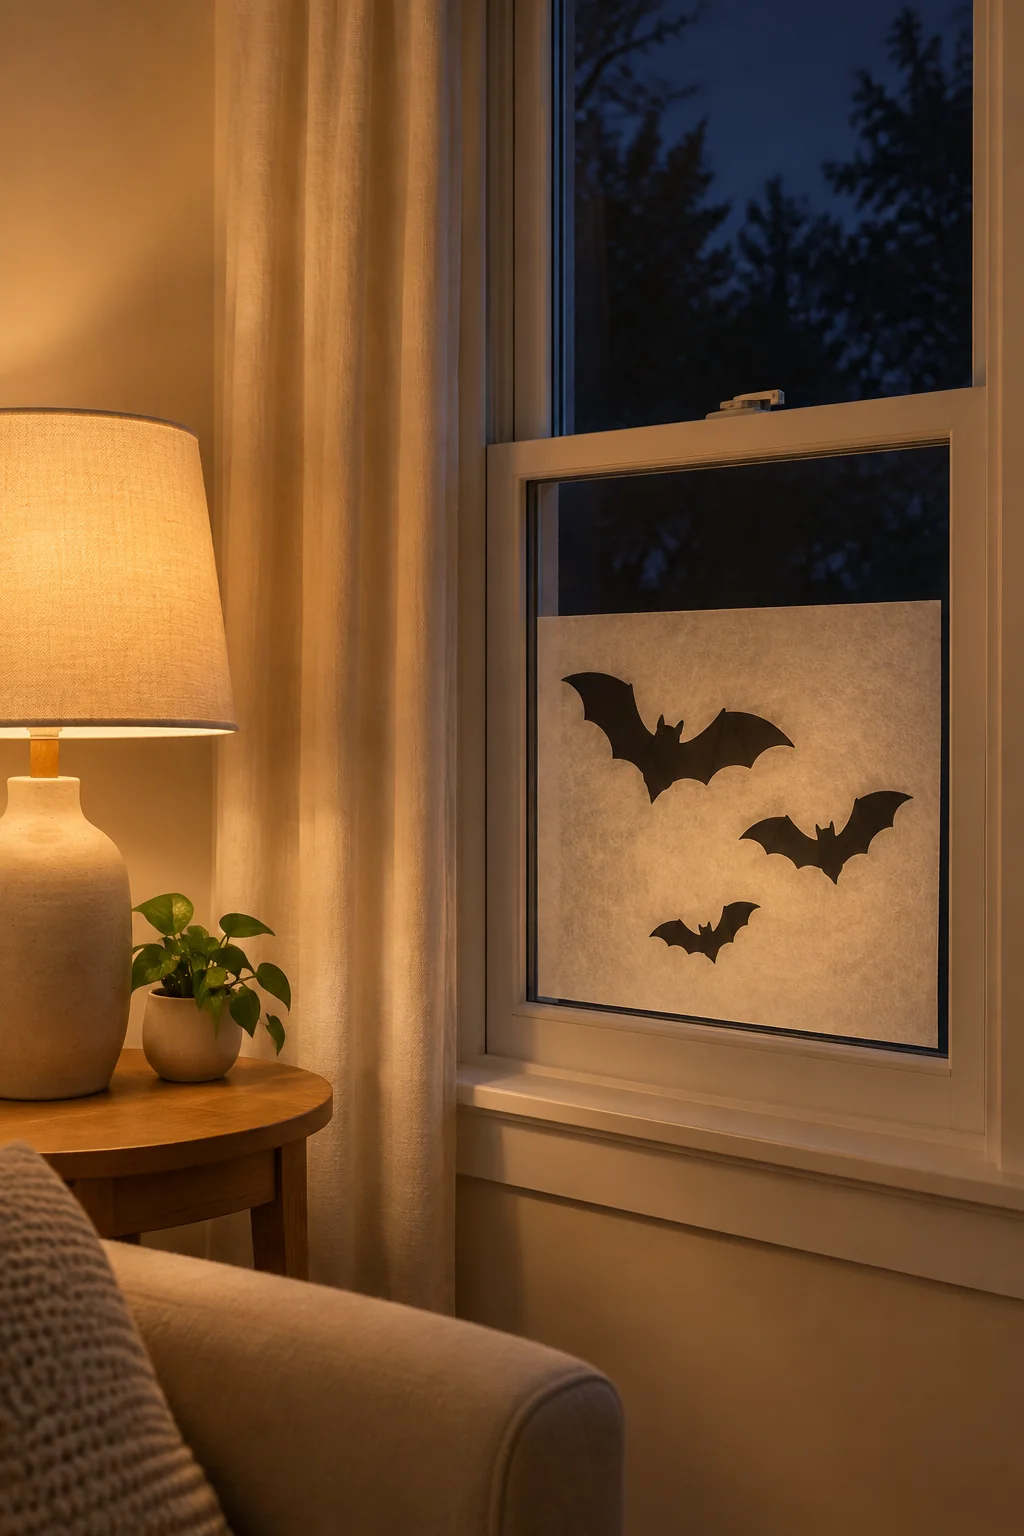
The room still has to work before sunset
I would leave the sill mostly empty. A small ceramic pumpkin is enough if there is room for it away from the operating parts. A lineup of props makes opening the curtains another chore, and it can hide the silhouette you just spent time cutting.
Pull the curtains aside to see how the scene relates to the room. A black paper cat against cream curtains has plenty of contrast. You can repeat a little warmth with an existing rust pillow or a brown throw, but the window doesn’t need a second shopping list. If the rest of your room is already decorated, keep this scene smaller.
Before attaching anything, check that the glass is clean and dry, and test the adhesive in an inconspicuous area according to its instructions. Removable does not mean suitable for every coated glass, painted frame or rental rule. Put attachments on an approved surface rather than assuming the frame can take them.
For removal, follow the adhesive instructions and avoid scraping the glass or finish with improvised tools. Store usable paper shapes flat between sheets of cardboard. I’d photograph the arrangement before taking it down, so next year’s setup starts with a layout that already fits the window.
For another small seasonal spot, see Halloween bathroom decor that keeps the room usable. Both projects work best when the decoration leaves everyday tasks alone.