Painted drywall poses a specific problem for limewash: a traditional masonry product may not bond to the existing finish. This guide is a planning reference, not a report of a bedroom renovation.
Start with the manufacturer’s substrate requirements. A product made for previously painted walls may be suitable, but preparation, dilution, coverage, drying time and number of coats vary by product. Follow that product’s instructions rather than a universal weekend promise.
A mineral finish formulated for painted drywall, such as Romabio Velatura Mineralwash, may be applied to sound pre-painted gypsum board under its current instructions. Romabio specifies a clean, dry surface, a crosshatched first coat with 0-5% water and a second coat diluted 50-80%; allow the stated drying time. Check the product sheet for your exact surface and conditions. This is not a universal recipe for all limewash paints.
What limewash actually is
Traditional limewash is a mineral finish made from slaked lime, water and pigment; it bonds best to porous mineral surfaces. Brush-applied mineral paints designed for drywall can imitate its soft variation, but are different products with different preparation and care. Check the exact finish before choosing a wall.
| Limewash | Regular paint | Roman clay | |
|---|---|---|---|
| Look | Soft, cloudy, chalky | Flat, even color | Smooth, polished, stone-like |
| How you apply it | Big brush, X strokes | Roller | Trowel, several thin coats |
| Skill level | Beginner | Beginner | Takes practice |
| Over painted drywall | Yes, with a product made for it | Yes | Usually needs a primer |
| Best for | Bedrooms, living rooms, brick | Everywhere | Accent walls, powder rooms |
Can you limewash over painted walls?
This is where most people get stuck, so here’s the short version. Traditional masonry limewash is intended for mineral substrates such as unpainted brick, stone and stucco. Do not assume a masonry formulation is suitable for painted drywall; check the technical sheet and primer requirements. For painted walls, check the specific product technical sheet for approved substrates and any required primer. Formulations and instructions can change.
Whatever you buy, read the label for the surface it’s made for. That one detail decides whether your wall looks good in a year.
Materials to check for your chosen product
- Limewash made for painted walls. Choose a product whose label explicitly permits application to your painted surface; a warm greige is one possible color.
- A wide block brush. The kind sold for limewash. A regular 3-inch paintbrush gives you stripes.
- A bucket and a stir stick for thinning the second coat.
- A spray bottle with water to soften edges if a section dries too fast.
- Painter’s tape, a drop cloth and a sponge for cleaning the wall first.
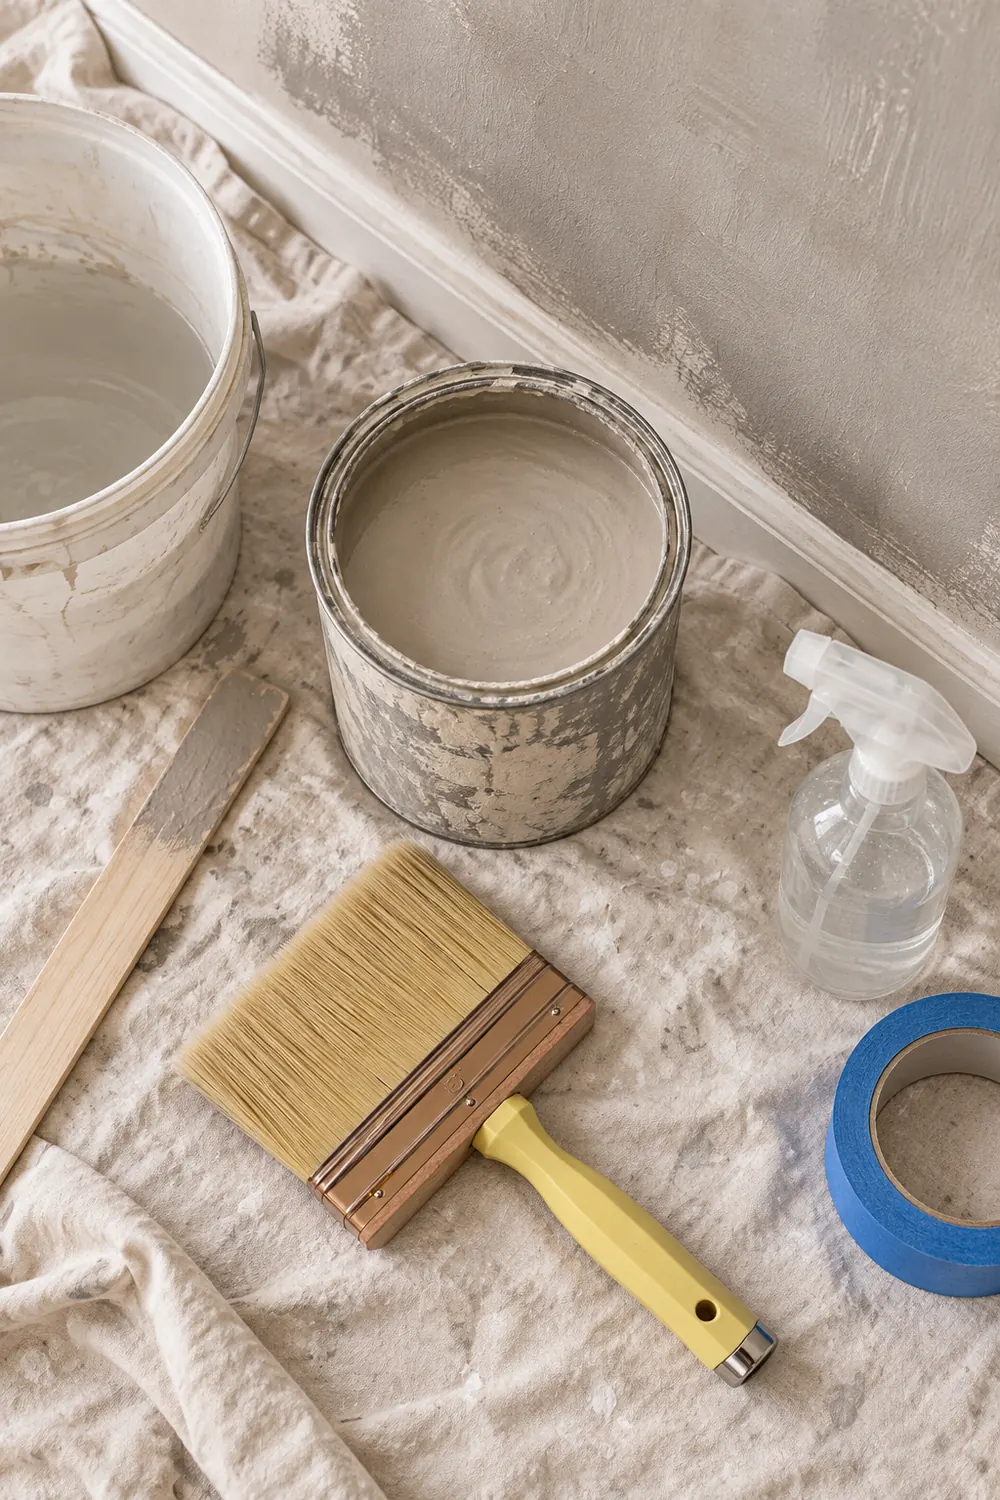
A wide block brush is useful for the crosshatch finish described in Romabio’s application guide. The linked brushes are examples to compare by width and bristle type, not products tested here.


How to limewash walls, step by step
-
Clean and prep the wall
Wipe off dust and grease, patch holes, and tape trim and ceiling. Limewash is thin, so it will show dirt and drips on the wall underneath.
-
Test on a sample board
Brush two coats on a piece of drywall or poster board and let it dry overnight. Look at it in the morning and at night before you commit.
-
Brush the first coat in X strokes
Dip about a third of the brush, then paint loose crisscross X shapes in a 3-by-3-foot section. Move to the next section while the edge is still wet. Don’t go back over spots that have started to dry.
- Advertisement - -
Let it dry
Follow the chosen product dry time and site conditions. Romabio lists about 4-6 hours to the touch for Velatura; allow more time when conditions require.
-
Thin and brush the second coat
For Velatura, dilute the second coat 50-80% with water per the current manufacturer sheet, mixing thoroughly. For any other product, follow its own label instead.
-
Step back and fix only what bugs you
Let the finish dry and consult the manufacturer for touch-up guidance. Patching a dried decorative finish can leave a visible mark.
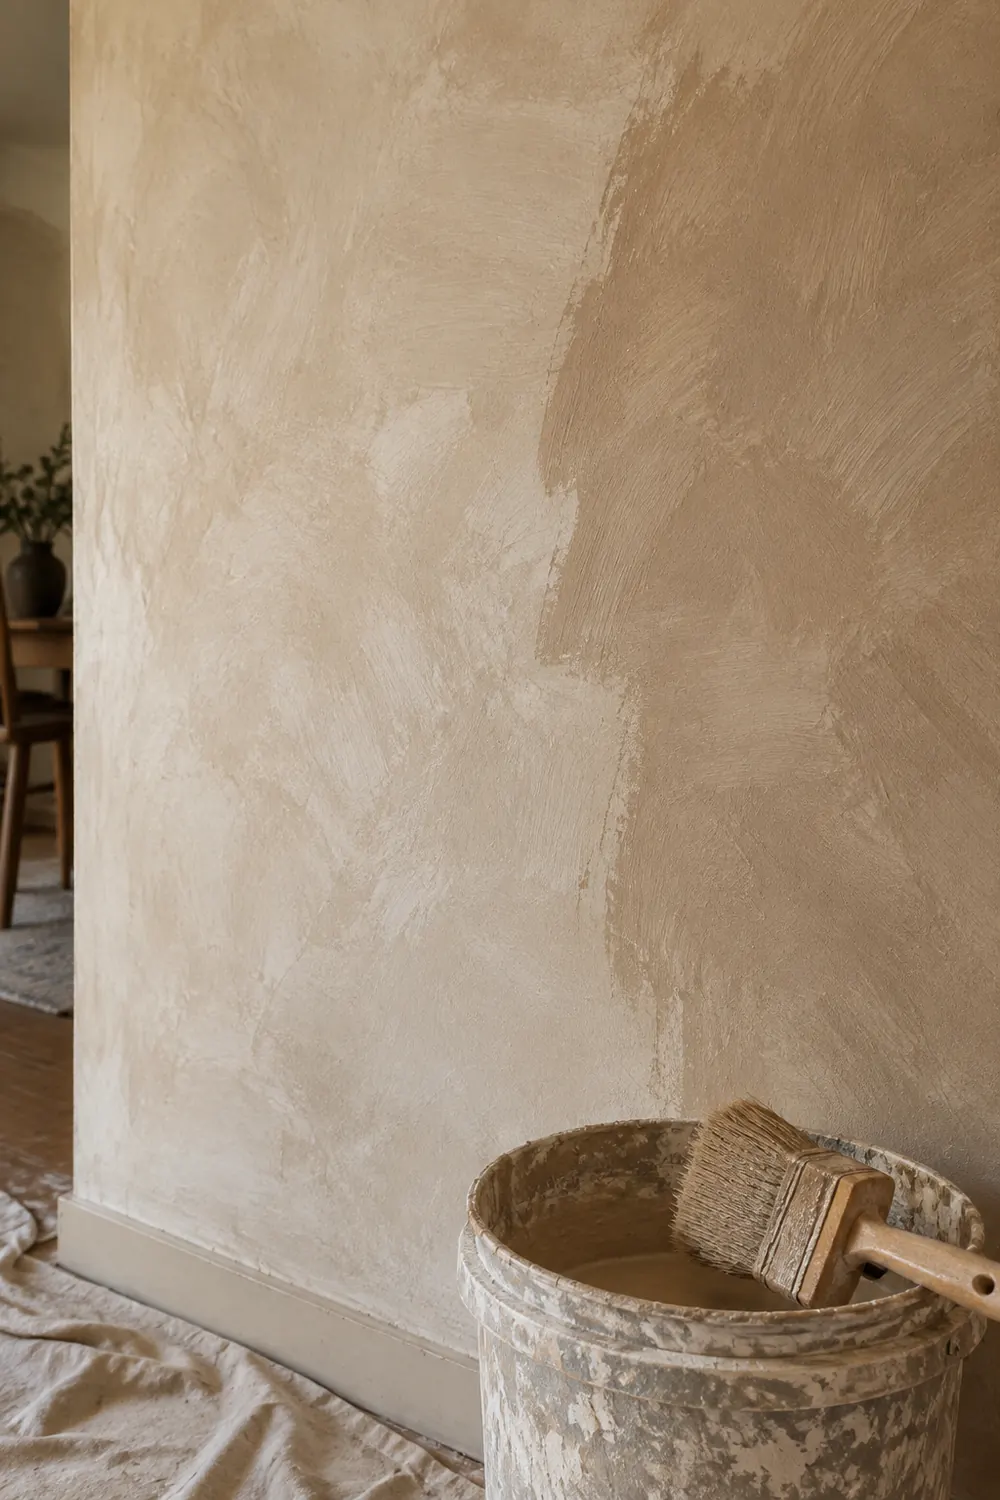
How to estimate limewash paint for your walls
Romabio lists Velatura at roughly 100-140 square feet per 1L/1-quart container for a first coat, depending on the surface; its second coat uses a dilution of 50-80% water. Confirm the total containers needed for both coats against its current instructions. To figure out your wall area, multiply the width of each wall by its height and add them up. A 12-by-12-foot room with 8-foot ceilings has 384 square feet of wall area before windows and doors (4 × 12 × 8).
Calculate coverage from your measured wall area and your chosen manufacturer’s stated rate for each coat. If you’re between sizes, round up. Running out halfway through a wall is the one thing you really don’t want.
Limewash brick: the easier version
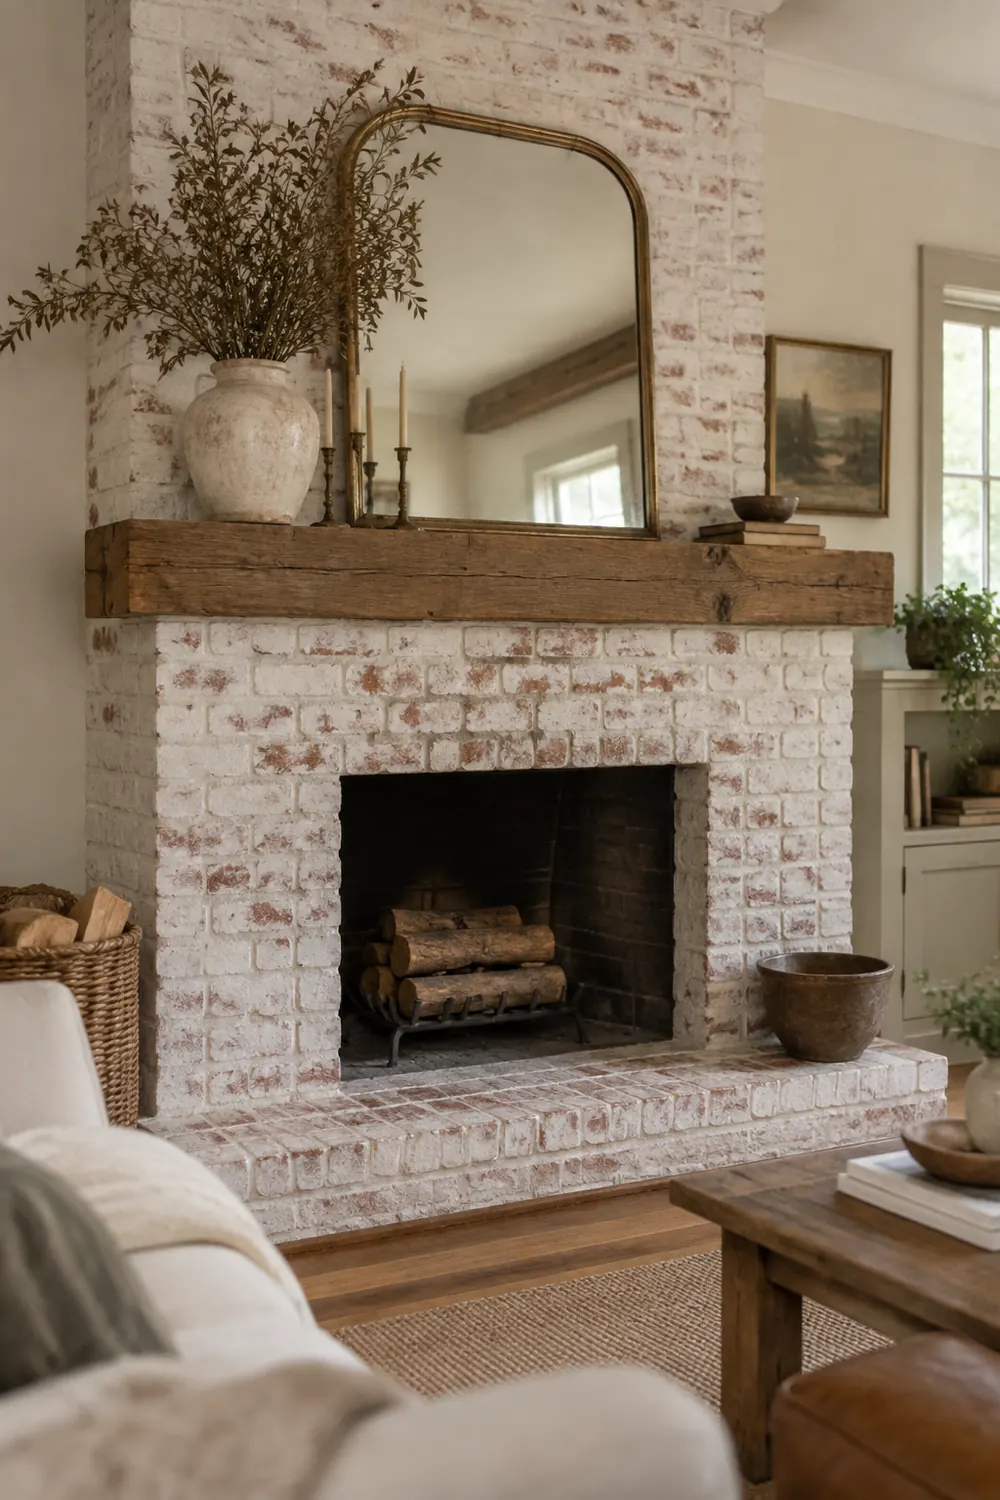
If you have a red brick fireplace or exterior, this is where traditional limewash really shines. Some brick finishes can be distressed while still damp, but that depends on the selected product, substrate and application instructions. Test a small area first, particularly on a fireplace; assess heat suitability and follow the maker’s directions. Cost and coverage vary.
Limewash colors that look the best
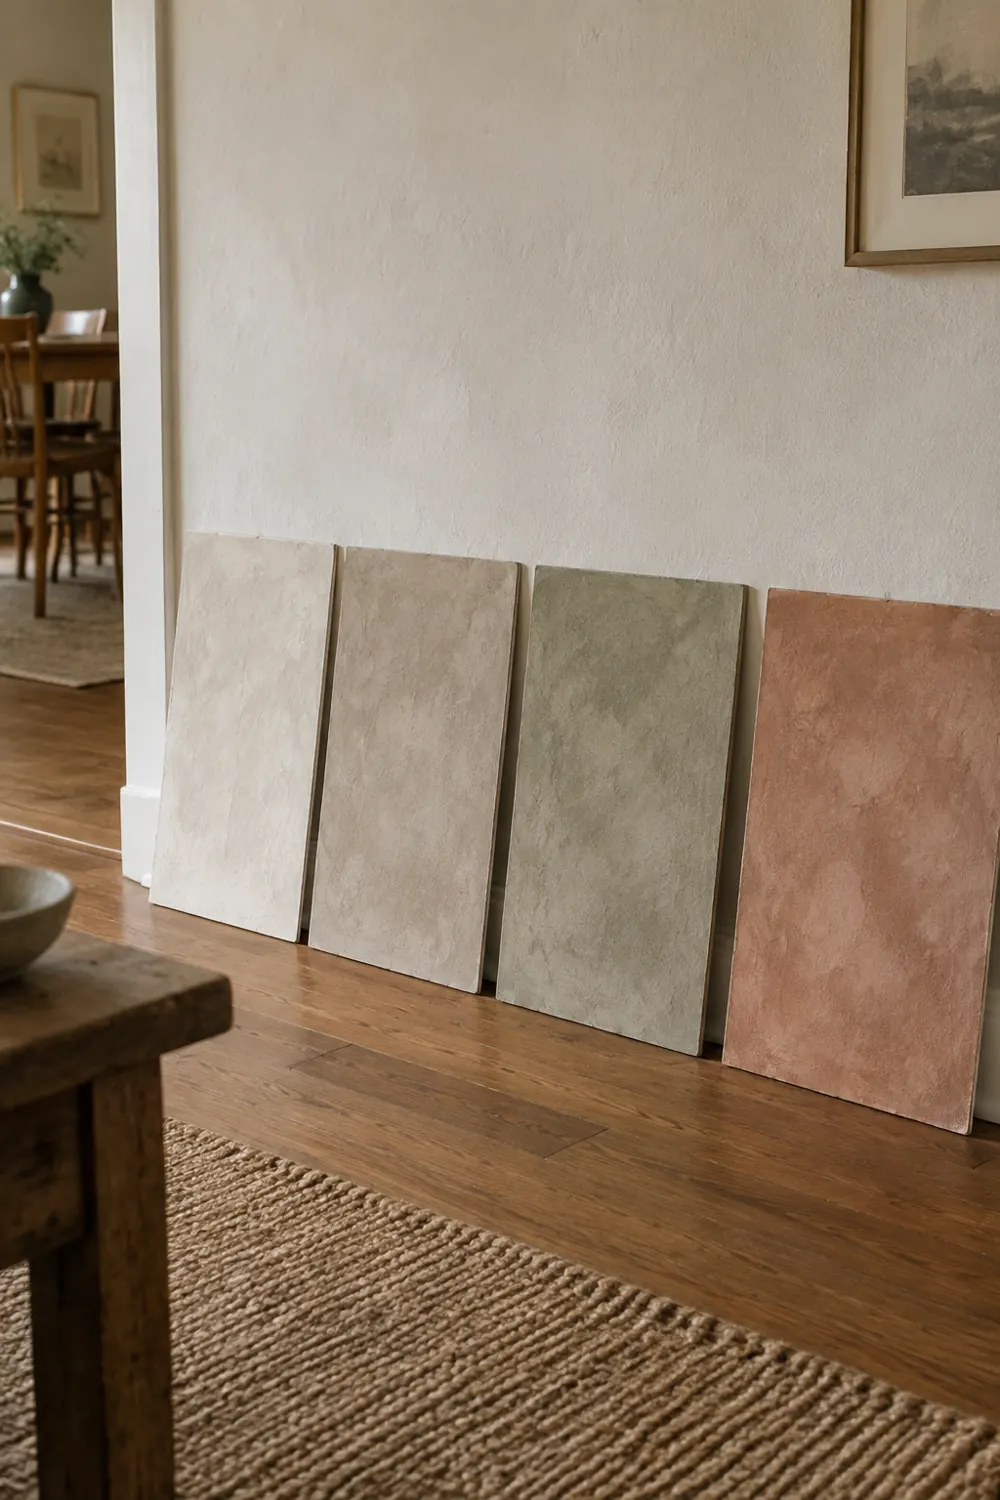
The softer the color, the more the texture shows. Warm whites, greige, mushroom and pale taupe give you that calm, European look. If you want something bolder, terracotta and clay colors are gorgeous on a single accent wall behind a bed or sofa.

Always test. Velatura can dry lighter than it looks when wet, and the same color can read warm in one room and flat in another. Brush several colors onto sample boards and check them in the room’s morning and evening light before choosing one.
Common application mistakes to avoid
- Stopping in the middle of a wall. A visible lap line can form when a wet edge is lost. Finish a full wall before you stop.
- Using too much on the brush. Heavy strokes leave drips and hard edges. Less limewash, more strokes.
- Judging it wet. The first coat may look uneven until dry; judge the result after the stated dry time. Wait for it to dry completely.
- Skipping the tape on the ceiling. Limewash is watery and it splatters.
Questions about limewash
Can you wash limewash walls?
Gently. Limewash is flat and chalky, so scrubbing can leave marks. For high-traffic spots, some brands sell a clear sealer. Check your product’s label.
Can you paint over limewash later?
Yes, but you’ll usually need to prep it first so the new paint sticks. Ask at the paint store for the right primer for your product.
Is limewash good for a rental?
Only if your landlord says yes. It’s a real finish, not a peel-and-stick, so it’s not something you can take off when you move out.
Is one wall a sensible starting point?
It may be worth trying on one wall first, after checking product compatibility and testing a sample board. Follow the chosen product’s preparation, dilution and drying instructions; don’t assume that the same method works on every painted wall.
Research note: this is a product-first guide, not a report of a room we limewashed. Romabio product guidance: Velatura Mineralwash. Product instructions can change. Check the latest technical sheet before starting; images show illustrative interiors, not a documented renovation.